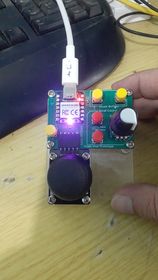
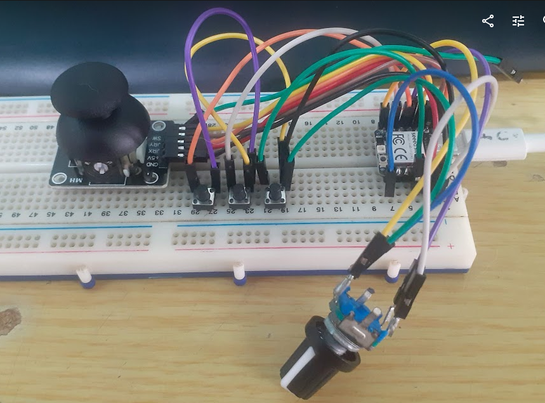
Over the last few months, I have been using the initial revision of this project on almost a daily basis. It has come a long way since the initial concept was implemented on the breadboard.
While completely functional, and relatively easy to use, quite a few things started adding up – making me believe that it could be better…
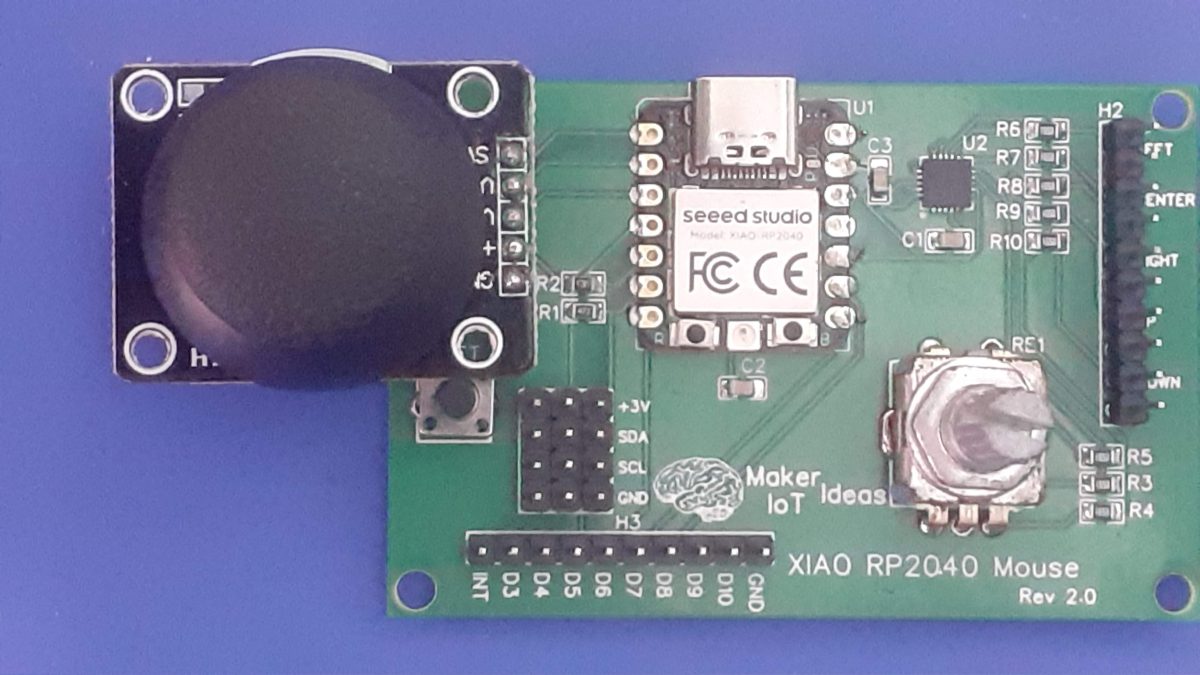
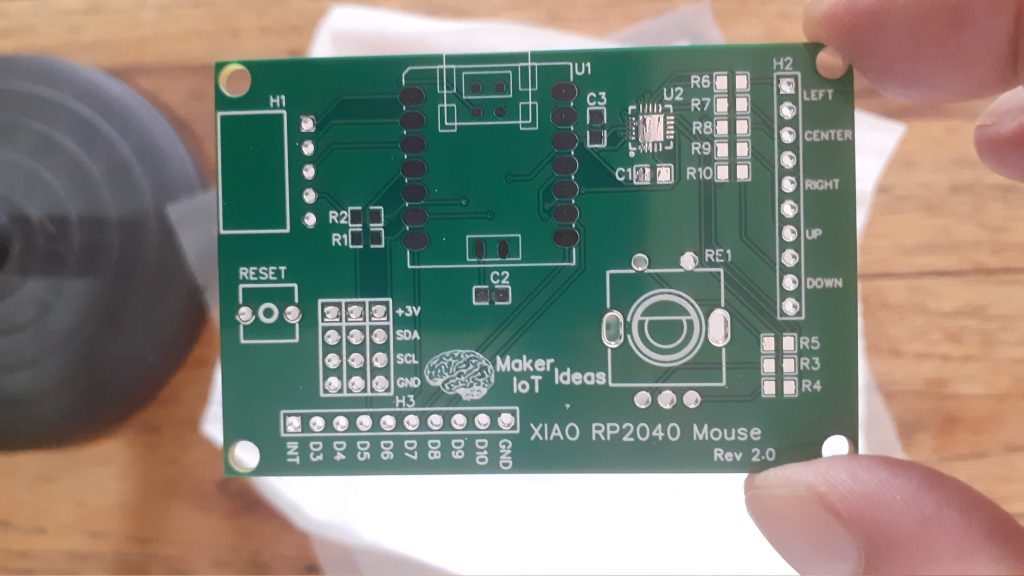
That prompted me to start thinking about a hardware revision, adding some missing features, like a middle button, and “maybe” a display to the device, making it easier to visualise settings, etc…

My main limitations came from the Seeed Studio Xiao RP2040 Module. While super tiny and compact, the module only has access to 11 GPIO pins on the RP2040 chip. Most of these were already in use, connected to buttons etc.
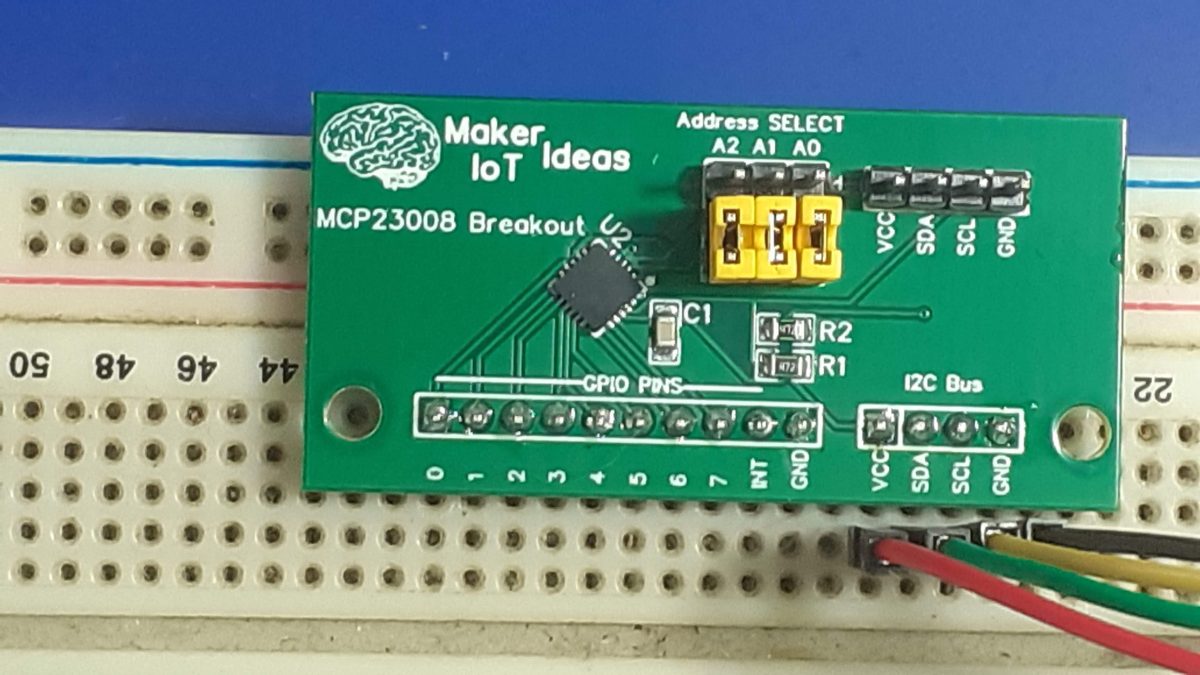
I would thus have to find an I2C IO expander that will be supported by CircuitPython and have a suitably small footprint. That way, I could free up many of the valuable GPIO pins on the Xiao RP2040 for other purposes.
What did I use?
My initial goto chip was the MCP23017, with 16 GPIO pins. But after some more thinking, I settled on the MCP23008, which has only 8 GPIO lines. I2C bus breakout headers to allow for expansion, as well as access to all the unused GPIO pins on the XIAO RP2040, were also added.
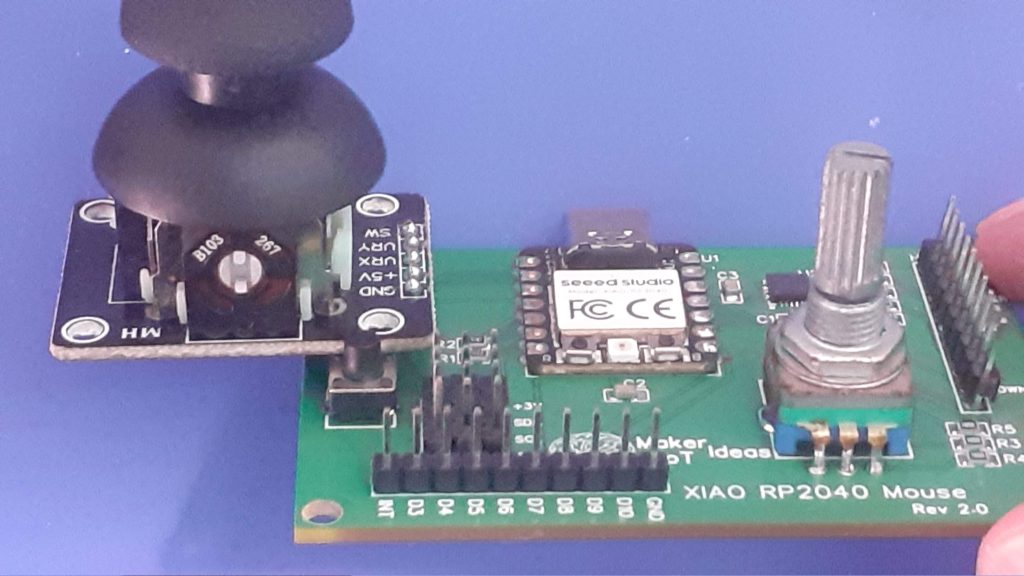
The Rotary encoder was once again included, as it could later be used for selecting Menu options etc.
What is the current status of the project?
The revision 2.00 hardware works as expected, with a few issues.
CircuitPython has an issue with rotary encoders connected to IO expanders. I don’t understand why that would be the case, but wrote my basic routine to handle the encoder, which at this time, is only used for scrolling. ( I have still got to decide if a display would be needed)
As far as settings are concerned, I have only implemented a sort of “mouse speed” feature that determines how fast or slow ( for better accuracy ) the pointer moves. This is currently controlled by the encoder button, on a cycling loop, with different colours on the NeoPixel as visual feedback on the current speed selected.
USB connectivity at computer startup and/or resuming from a suspend operation is still a major problem. This means that you have to physically reset the device after every resume from suspend, or after starting your computer.
From what I can see in the CircuitPython documentation, it is possible to detect USB connectivity. That part works. From there, It seems that once USB connectivity is lost, CircuitPython goes into some sort of unknown state, and no further code is executed, thus making a software reset not executing…
I have an idea that it has got something to do with the HID Mouse mode or something ???? For now, I am happy to just hit a reset button to continue…
Another big issue is a suitable enclosure. Revision 2.00 PCB was not designed to be placed into an enclosure, mainly because I have so far been quite unsuccessful in finding a suitable one. My 3D design skills are also quite lacking, so designing something from scratch won’t do either. I have decided to sort out all the hardware and firmware issues first, find an enclosure and then modify the PCB layout to fit that.
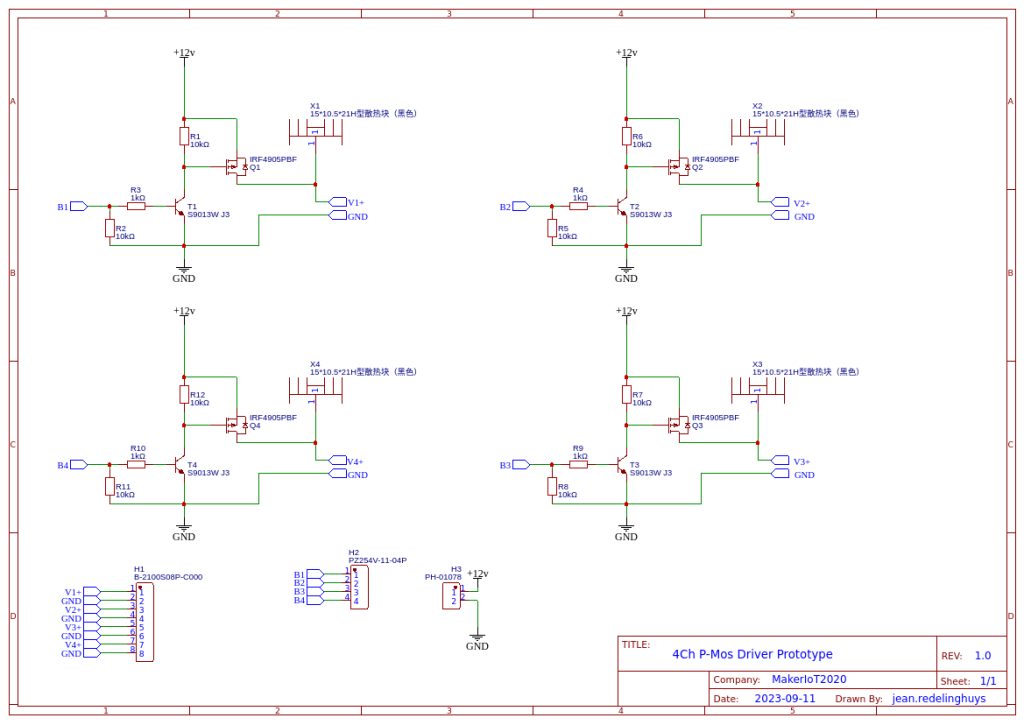
Manufacturing the PCB
I choose PCBWay for my PCB manufacturing. Why? What makes them different from the rest?
PCBWay‘s business goal is to be the most professional PCB manufacturer for prototyping and low-volume production work in the world. With more than a decade in the business, they are committed to meeting the needs of their customers from different industries in terms of quality, delivery, cost-effectiveness and any other demanding requests. As one of the most experienced PCB manufacturers and SMT Assemblers in China, they pride themselves to be our (the Makers) best business partners, as well as good friends in every aspect of our PCB manufacturing needs. They strive to make our R&D work easy and hassle-free.
How do they do that?
PCBWay is NOT a broker. That means that they do all manufacturing and assembly themselves, cutting out all the middlemen, and saving us money.
PCBWay’s online quoting system gives a very detailed and accurate picture of all costs upfront, including components and assembly costs. This saves a lot of time and hassle.
PCBWay gives you one-on-one customer support, that answers you in 5 minutes ( from the Website chat ), or by email within a few hours ( from your personal account manager). Issues are really resolved very quickly, not that there are many anyway, but, as we are all human, it is nice to know that when a gremlin rears its head, you have someone to talk to who will do his/her best to resolve your issue as soon as possible.
Find out more here

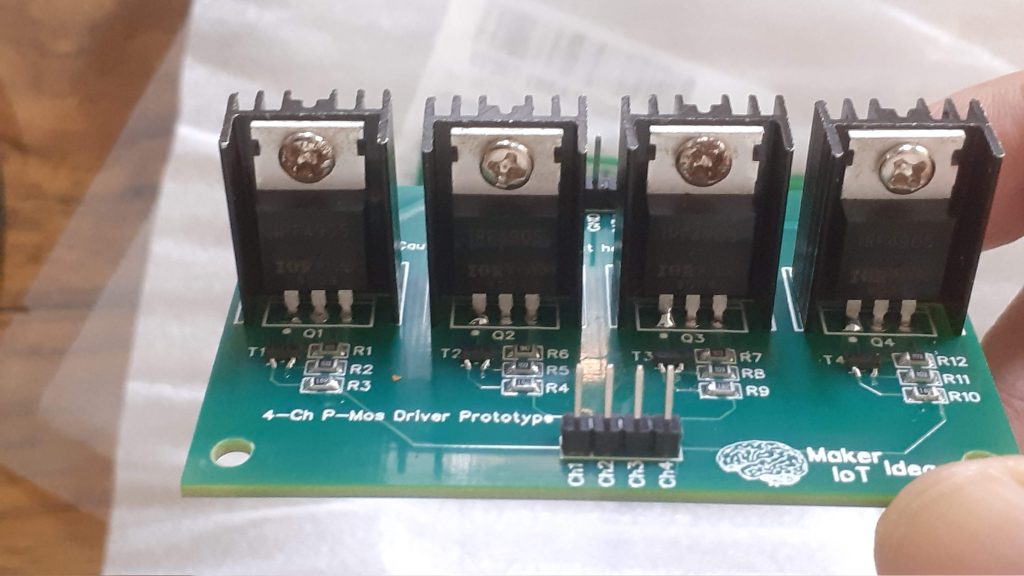
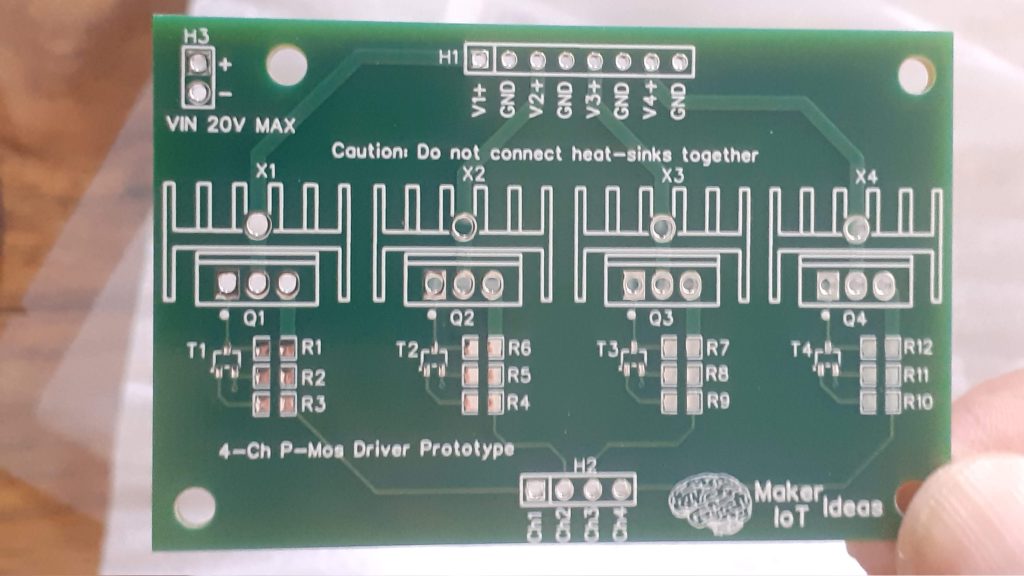
Assembly and Testing
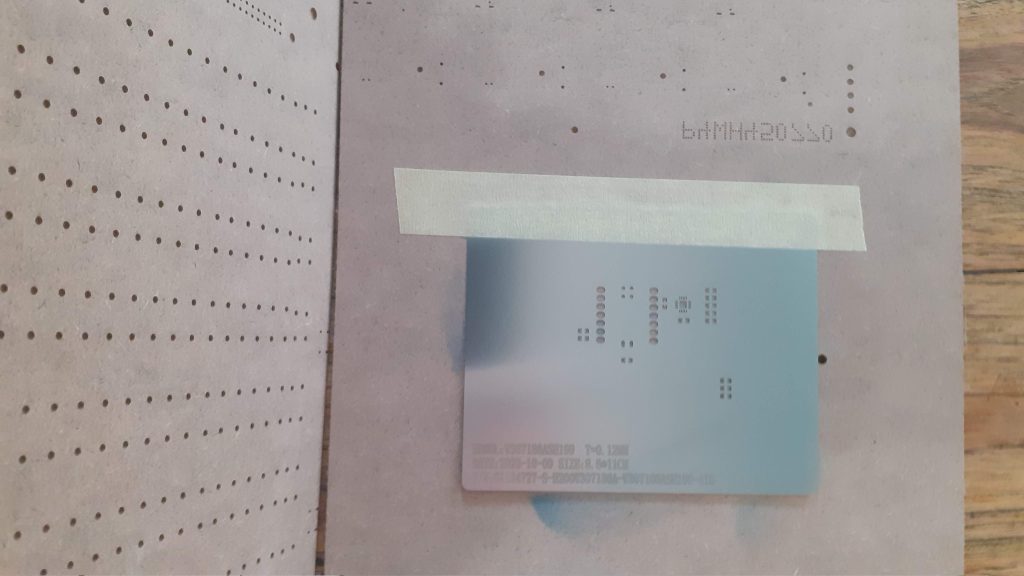
Assembly is easy but does require a stencil due to the small size of some of the SMD components.
CircuitPython Coding – A work in progress
This is the current code, and it is a work in progress. It works, and could definitely be optimised quite a lot. I am not very familiar with Python but I believe I can help myself around it.
import time
import board
import busio
from rainbowio import colorwheel
import neopixel
import digitalio
import rotaryio
import microcontroller
from digitalio import Direction
from adafruit_mcp230xx.mcp23008 import MCP23008
import digitalio
i2c = busio.I2C(board.SCL, board.SDA)
mcp = MCP23008(i2c)

from analogio import AnalogIn
import usb_hid
from adafruit_hid.mouse import Mouse

mouse = Mouse(usb_hid.devices)
xAxis = AnalogIn(board.A2)
yAxis = AnalogIn(board.A1)

# NEOPIXEL
pixel_pin = board.NEOPIXEL
num_pixels = 1
pixels = neopixel.NeoPixel(pixel_pin, num_pixels, brightness=0.1, auto_write=False)

leftbutton = mcp.get_pin(3)
leftbutton.direction = digitalio.Direction.INPUT
leftbutton.pull = digitalio.Pull.UP

centerbutton = mcp.get_pin(4)
centerbutton.direction = digitalio.Direction.INPUT
centerbutton.pull = digitalio.Pull.UP

maint_btn = digitalio.DigitalInOut(board.D0)
maint_btn.switch_to_input(pull=digitalio.Pull.UP)

rightbutton = mcp.get_pin(5)
rightbutton.direction = digitalio.Direction.INPUT
rightbutton.pull = digitalio.Pull.UP

enc_btn = mcp.get_pin(2)
enc_btn.direction = digitalio.Direction.INPUT
enc_btn.pull = digitalio.Pull.UP

scroll_up = mcp.get_pin(6)
scroll_up.direction = digitalio.Direction.INPUT
scroll_up.pull = digitalio.Pull.UP

scroll_down = mcp.get_pin(7)
scroll_down.direction = digitalio.Direction.INPUT
scroll_down.pull = digitalio.Pull.UP

enc_a = mcp.get_pin(0)
enc_a.direction = digitalio.Direction.INPUT
enc_a.pull = digitalio.Pull.UP

enc_b = mcp.get_pin(1)
enc_b.direction = digitalio.Direction.INPUT
enc_b.pull = digitalio.Pull.UP

enc_a_pressed = False
enc_b_pressed = False

#mousewheel = rotaryio.IncrementalEncoder(enc_a, mcp.get_pin(1))
#last_position = mousewheel.position

move_speed = 3
enc_down = 0

RED = (255, 0, 0)
YELLOW = (255, 150, 0)
GREEN = (0, 255, 0)
CYAN = (0, 255, 255)
BLUE = (0, 0, 255)
PURPLE = (180, 0, 255)
BLACK = (0, 0, 0)


if move_speed == 0:
    in_min, in_max, out_min, out_max = (0, 65000, -20, 20)
    filter_joystick_deadzone = (
        lambda x: int((x - in_min) * (out_max - out_min) / (in_max - in_min) + out_min)
        if abs(x - 32768) > 500
        else 0
    )
if move_speed == 1:
    pixels.fill(GREEN)
    pixels.show()
    in_min, in_max, out_min, out_max = (0, 65000, -15, 15)
    filter_joystick_deadzone = (
        lambda x: int((x - in_min) * (out_max - out_min) / (in_max - in_min) + out_min)
        if abs(x - 32768) > 500
        else 0
    )
if move_speed == 2:
    pixels.fill(BLUE)
    pixels.show()
    in_min, in_max, out_min, out_max = (0, 65000, -10, 10)


filter_joystick_deadzone = (
        lambda x: int((x - in_min) * (out_max - out_min) / (in_max - in_min) + out_min)
        if abs(x - 32768) > 500
        else 0
    )
if move_speed == 3:
    pixels.fill(PURPLE)
    pixels.show()
    in_min, in_max, out_min, out_max = (0, 65000, -8, 8)
    filter_joystick_deadzone = (
        lambda x: int((x - in_min) * (out_max - out_min) / (in_max - in_min) + out_min)
        if abs(x - 32768) > 500
        else 0
    )
if move_speed == 4:
    pixels.fill(CYAN)
    pixels.show()
    in_min, in_max, out_min, out_max = (0, 65000, -5, 5)
    filter_joystick_deadzone = (
        lambda x: int((x - in_min) * (out_max - out_min) / (in_max - in_min) + out_min)
        if abs(x - 32768) > 500
        else 0
    )


pixels.fill(BLACK)
pixels.show()
while True:
    # Set mouse accelleration ( speed)
    if move_speed == 0:
        pixels.fill(BLACK)
        pixels.show()
        in_min, in_max, out_min, out_max = (0, 65000, -20, 20)
        filter_joystick_deadzone = (
            lambda x: int(
                (x - in_min) * (out_max - out_min) / (in_max - in_min) + out_min
            )
            if abs(x - 32768) > 500
            else 0
        )
    if move_speed == 1:
        pixels.fill(GREEN)
        pixels.show()
        in_min, in_max, out_min, out_max = (0, 65000, -15, 15)
        filter_joystick_deadzone = (
            lambda x: int(
                (x - in_min) * (out_max - out_min) / (in_max - in_min) + out_min
            )
            if abs(x - 32768) > 500
            else 0
        )
    if move_speed == 2:
        pixels.fill(BLUE)
        pixels.show()
        in_min, in_max, out_min, out_max = (0, 65000, -10, 10)
        filter_joystick_deadzone = (
            lambda x: int(
                (x - in_min) * (out_max - out_min) / (in_max - in_min) + out_min
            )
            if abs(x - 32768) > 500
            else 0
        )
    if move_speed == 3:
        pixels.fill(PURPLE)
        pixels.show()
        in_min, in_max, out_min, out_max = (0, 65000, -8, 8)
        filter_joystick_deadzone = (
            lambda x: int(
                (x - in_min) * (out_max - out_min) / (in_max - in_min) + out_min
            )
            if abs(x - 32768) > 500
            else 0
        )
    if move_speed == 4:
        pixels.fill(CYAN)
        pixels.show()
        in_min, in_max, out_min, out_max = (0, 65000, -5, 5)
        filter_joystick_deadzone = (
            lambda x: int(
                (x - in_min) * (out_max - out_min) / (in_max - in_min) + out_min
            )
            if abs(x - 32768) > 500
            else 0
        )

    #current_position = mousewheel.position
    #position_change = current_position - last_position

    x_offset = filter_joystick_deadzone(xAxis.value) * -1  # Invert axis
    y_offset = filter_joystick_deadzone(yAxis.value) * -1
    mouse.move(x_offset, y_offset, 0)

    if enc_btn.value and enc_down == 1:
        move_speed = move_speed + 1
        if move_speed > 4:
            move_speed = 0

        # print (move_speed)
        enc_down = 0

    if not enc_btn.value:
        enc_down = 1

    if leftbutton.value:
        mouse.release(Mouse.LEFT_BUTTON)
        # pixels.fill(BLACK)
        # pixels.show()
    else:
        mouse.press(Mouse.LEFT_BUTTON)
        pixels.fill(GREEN)
        pixels.show()

    if centerbutton.value:
        mouse.release(Mouse.MIDDLE_BUTTON)
    else:
        mouse.press(Mouse.MIDDLE_BUTTON)
        pixels.fill(YELLOW)
        pixels.show()

    # Center button on joystick
    if maint_btn.value:
        mouse.release(Mouse.LEFT_BUTTON)
    else:
        mouse.press(Mouse.LEFT_BUTTON)
        pixels.fill(GREEN)
        pixels.show()

    if rightbutton.value:
        mouse.release(Mouse.RIGHT_BUTTON)
        # pixels.fill(BLACK)
        # pixels.show()
    else:
        mouse.press(Mouse.RIGHT_BUTTON)
        pixels.fill(PURPLE)
        pixels.show()

    if not scroll_up.value:
        mouse.move(wheel=1)
        time.sleep(0.25)
        pixels.fill(BLUE)
        pixels.show()

    if not scroll_down.value:
        mouse.move(wheel=-1)
        time.sleep(0.25)
        pixels.fill(CYAN)
        pixels.show()

    if not scroll_up.value and not scroll_down.value:
        for x in range(4):
            pixels.fill(RED)
            pixels.show()
            time.sleep(0.5)
            pixels.fill(BLACK)
            pixels.show()
            time.sleep(0.5)
        microcontroller.reset()

    if enc_a.value:
        enc_a_pressed = False
    else:
        if enc_b_pressed:
            enc_a_pressed = False
        else:
            enc_a_pressed = True

    if enc_b.value:
        enc_b_pressed = False
    else:
        if enc_a_pressed:
            enc_b_pressed = False
        else:
            enc_b_pressed = True

    if enc_a_pressed:
        mouse.move(wheel=1)
        time.sleep(0.25)
        enc_a_pressed = False
    if enc_b_pressed:
        mouse.move(wheel=-1)
        time.sleep(0.25)
        enc_b_pressed = False

    #if position_change > 0:
    #    mouse.move(wheel=position_change)
    #    # print(current_position)
    #    pixels.fill(BLUE)
    #    pixels.show()
    #elif position_change < 0:
    #    mouse.move(wheel=position_change)
    #    # print(current_position)
    #    pixels.fill(CYAN)
    #    pixels.show()
    #last_position = current_position
    pixels.fill(BLACK)
    pixels.show()
Conclusion
Okay, so this is where it is at at the moment. The code is not perfect, and the hardware is not perfect, but it works. I am using this device every day, and also making changes as needed. At the moment, there are some issues, but they do not prevent the actual use of the device.
If you are interested or would like to make modifications, feel free to do so.