Maker Pi Pico with ESP01S Module

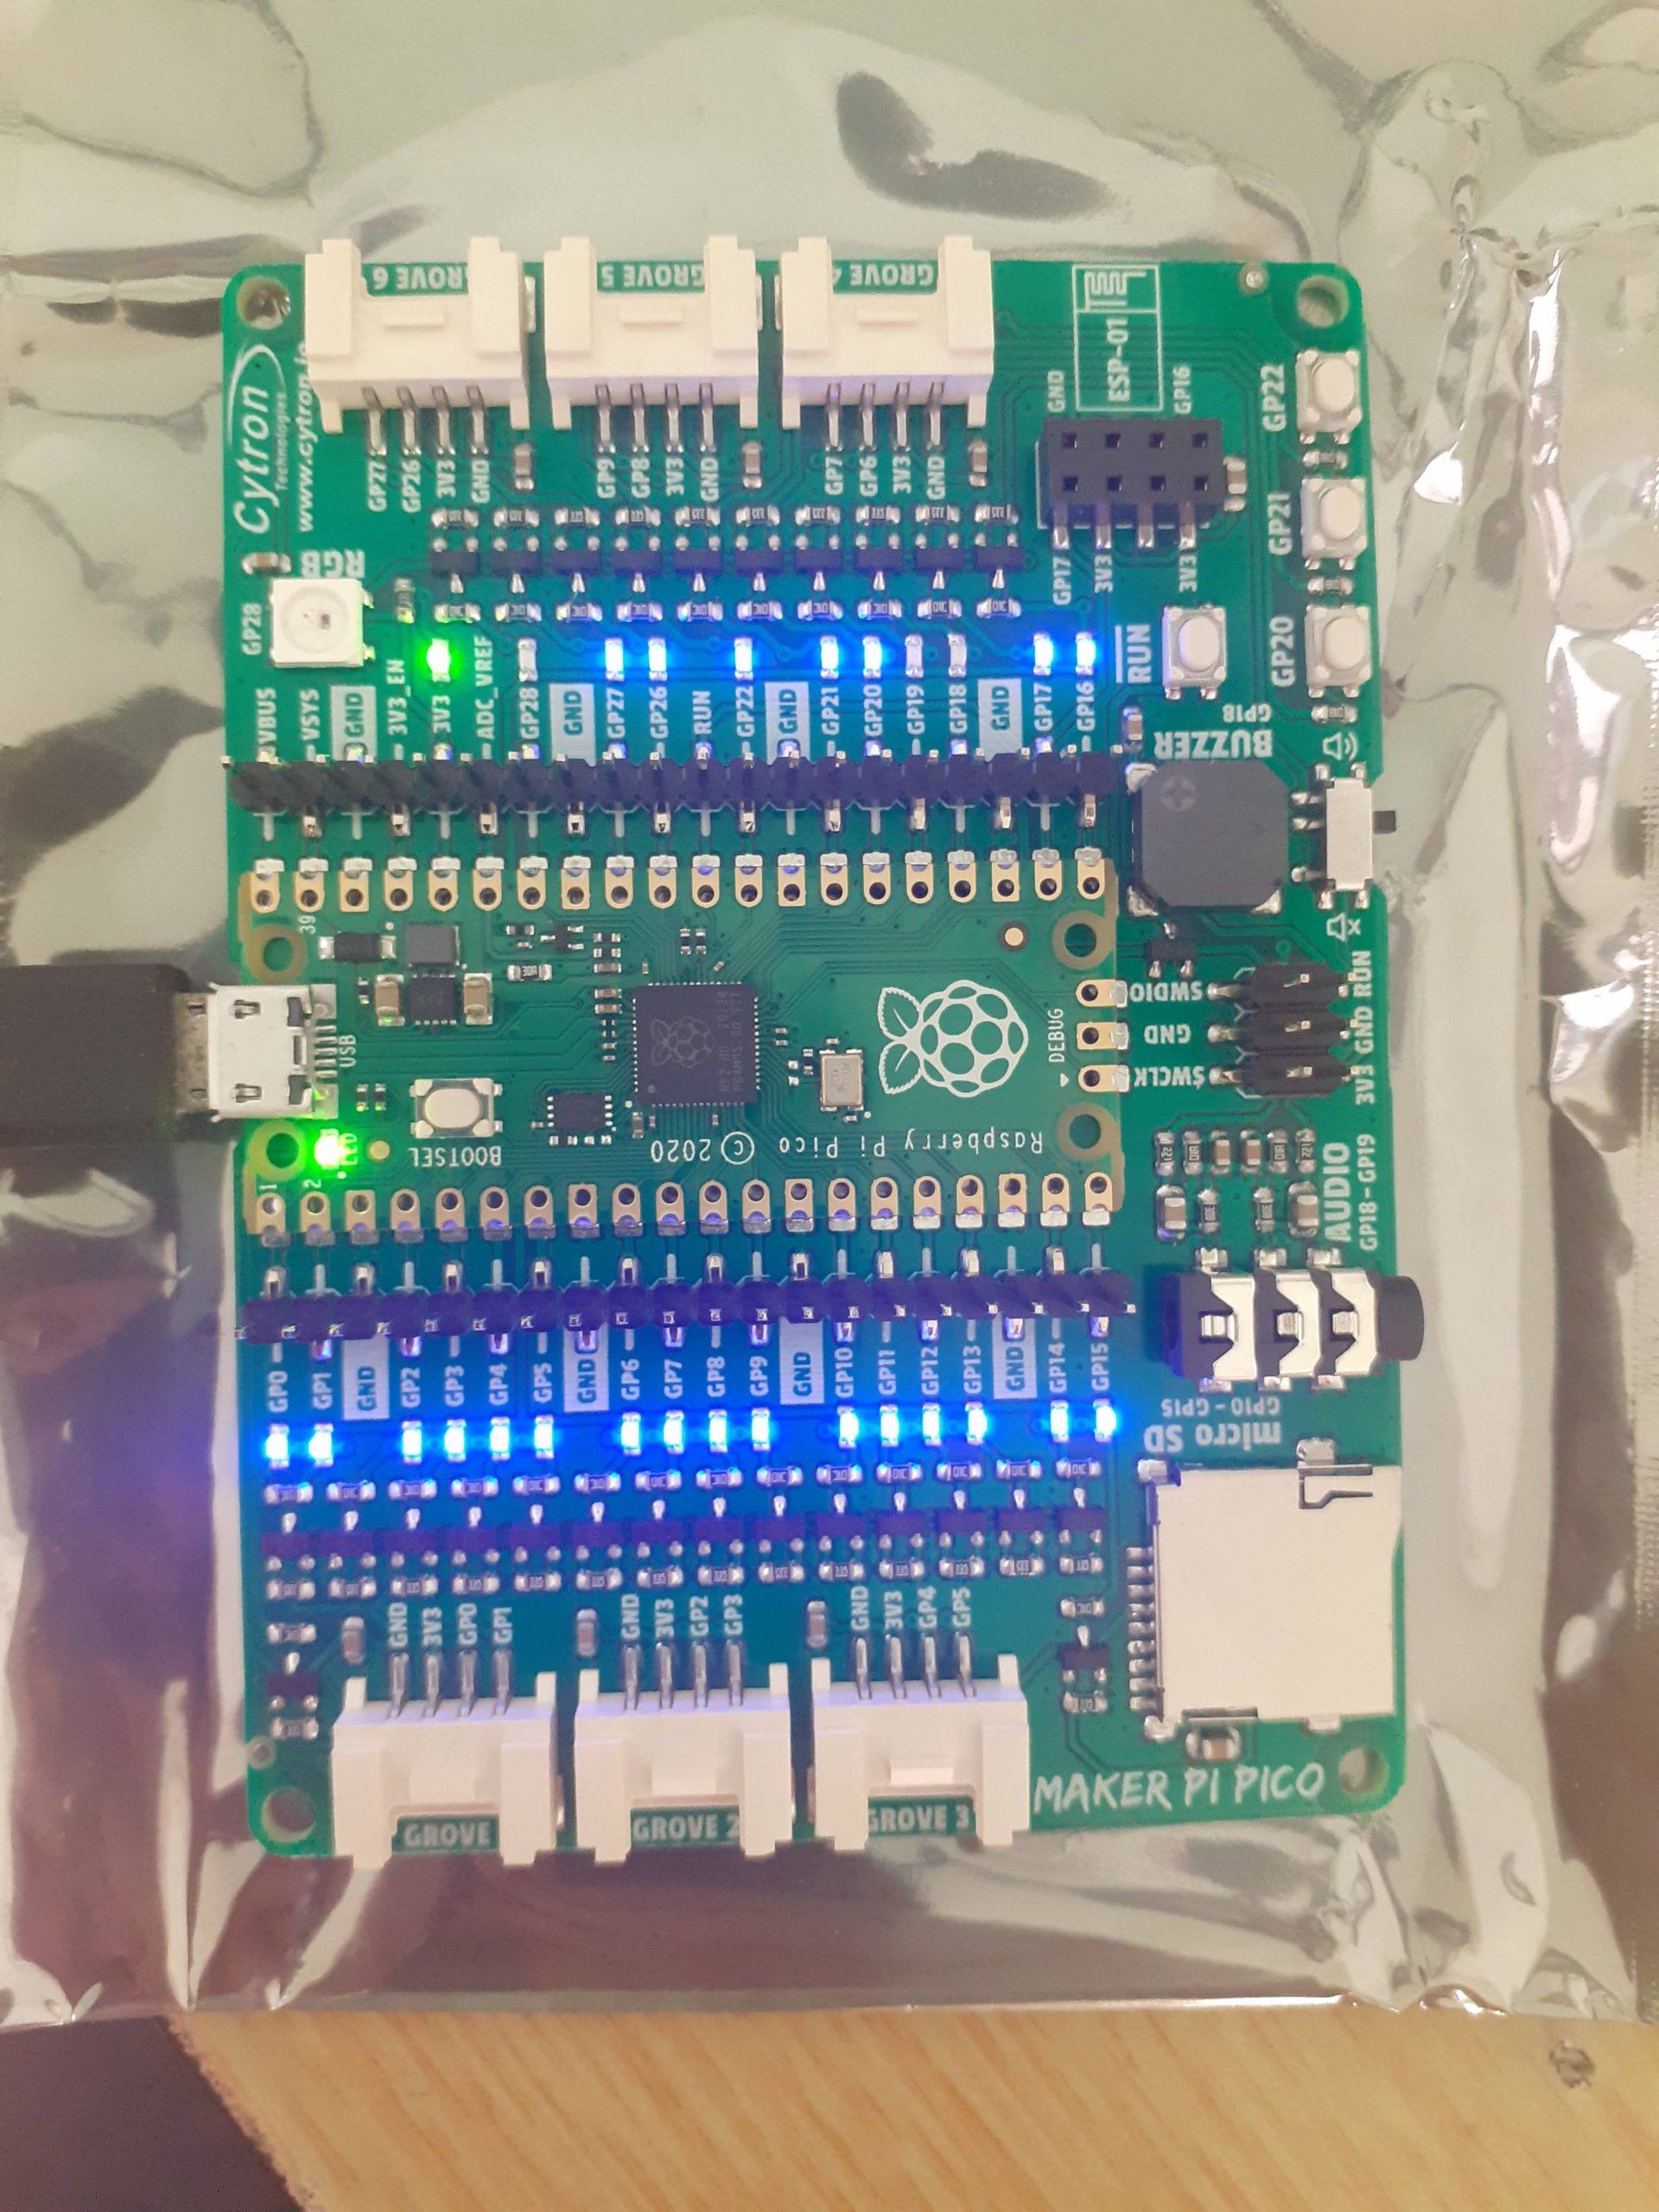
It has been a while since my last post, most of which has been spent dealing with other things, as well as waiting for electronics modules to arrive from overseas. A lot of my time has also been spent on getting to grips with the Raspberry Pi Pico, and in particular, the Maker Pi Pico, from Cytron Technologies. This has been an experience with quite a lot of mixed feelings… As Usual, Cytron has done an excellent job with the development board, which, while apparently still in Beta, seems to be rock solid. Most of my frustration came from the “patchy” C/C++ support for the Pi Pico (Yes, I know there are great support, BUT it is not exactly user friendly 🙂 ). That left me with MicroPython, which although I am fluent, are not my goto language…

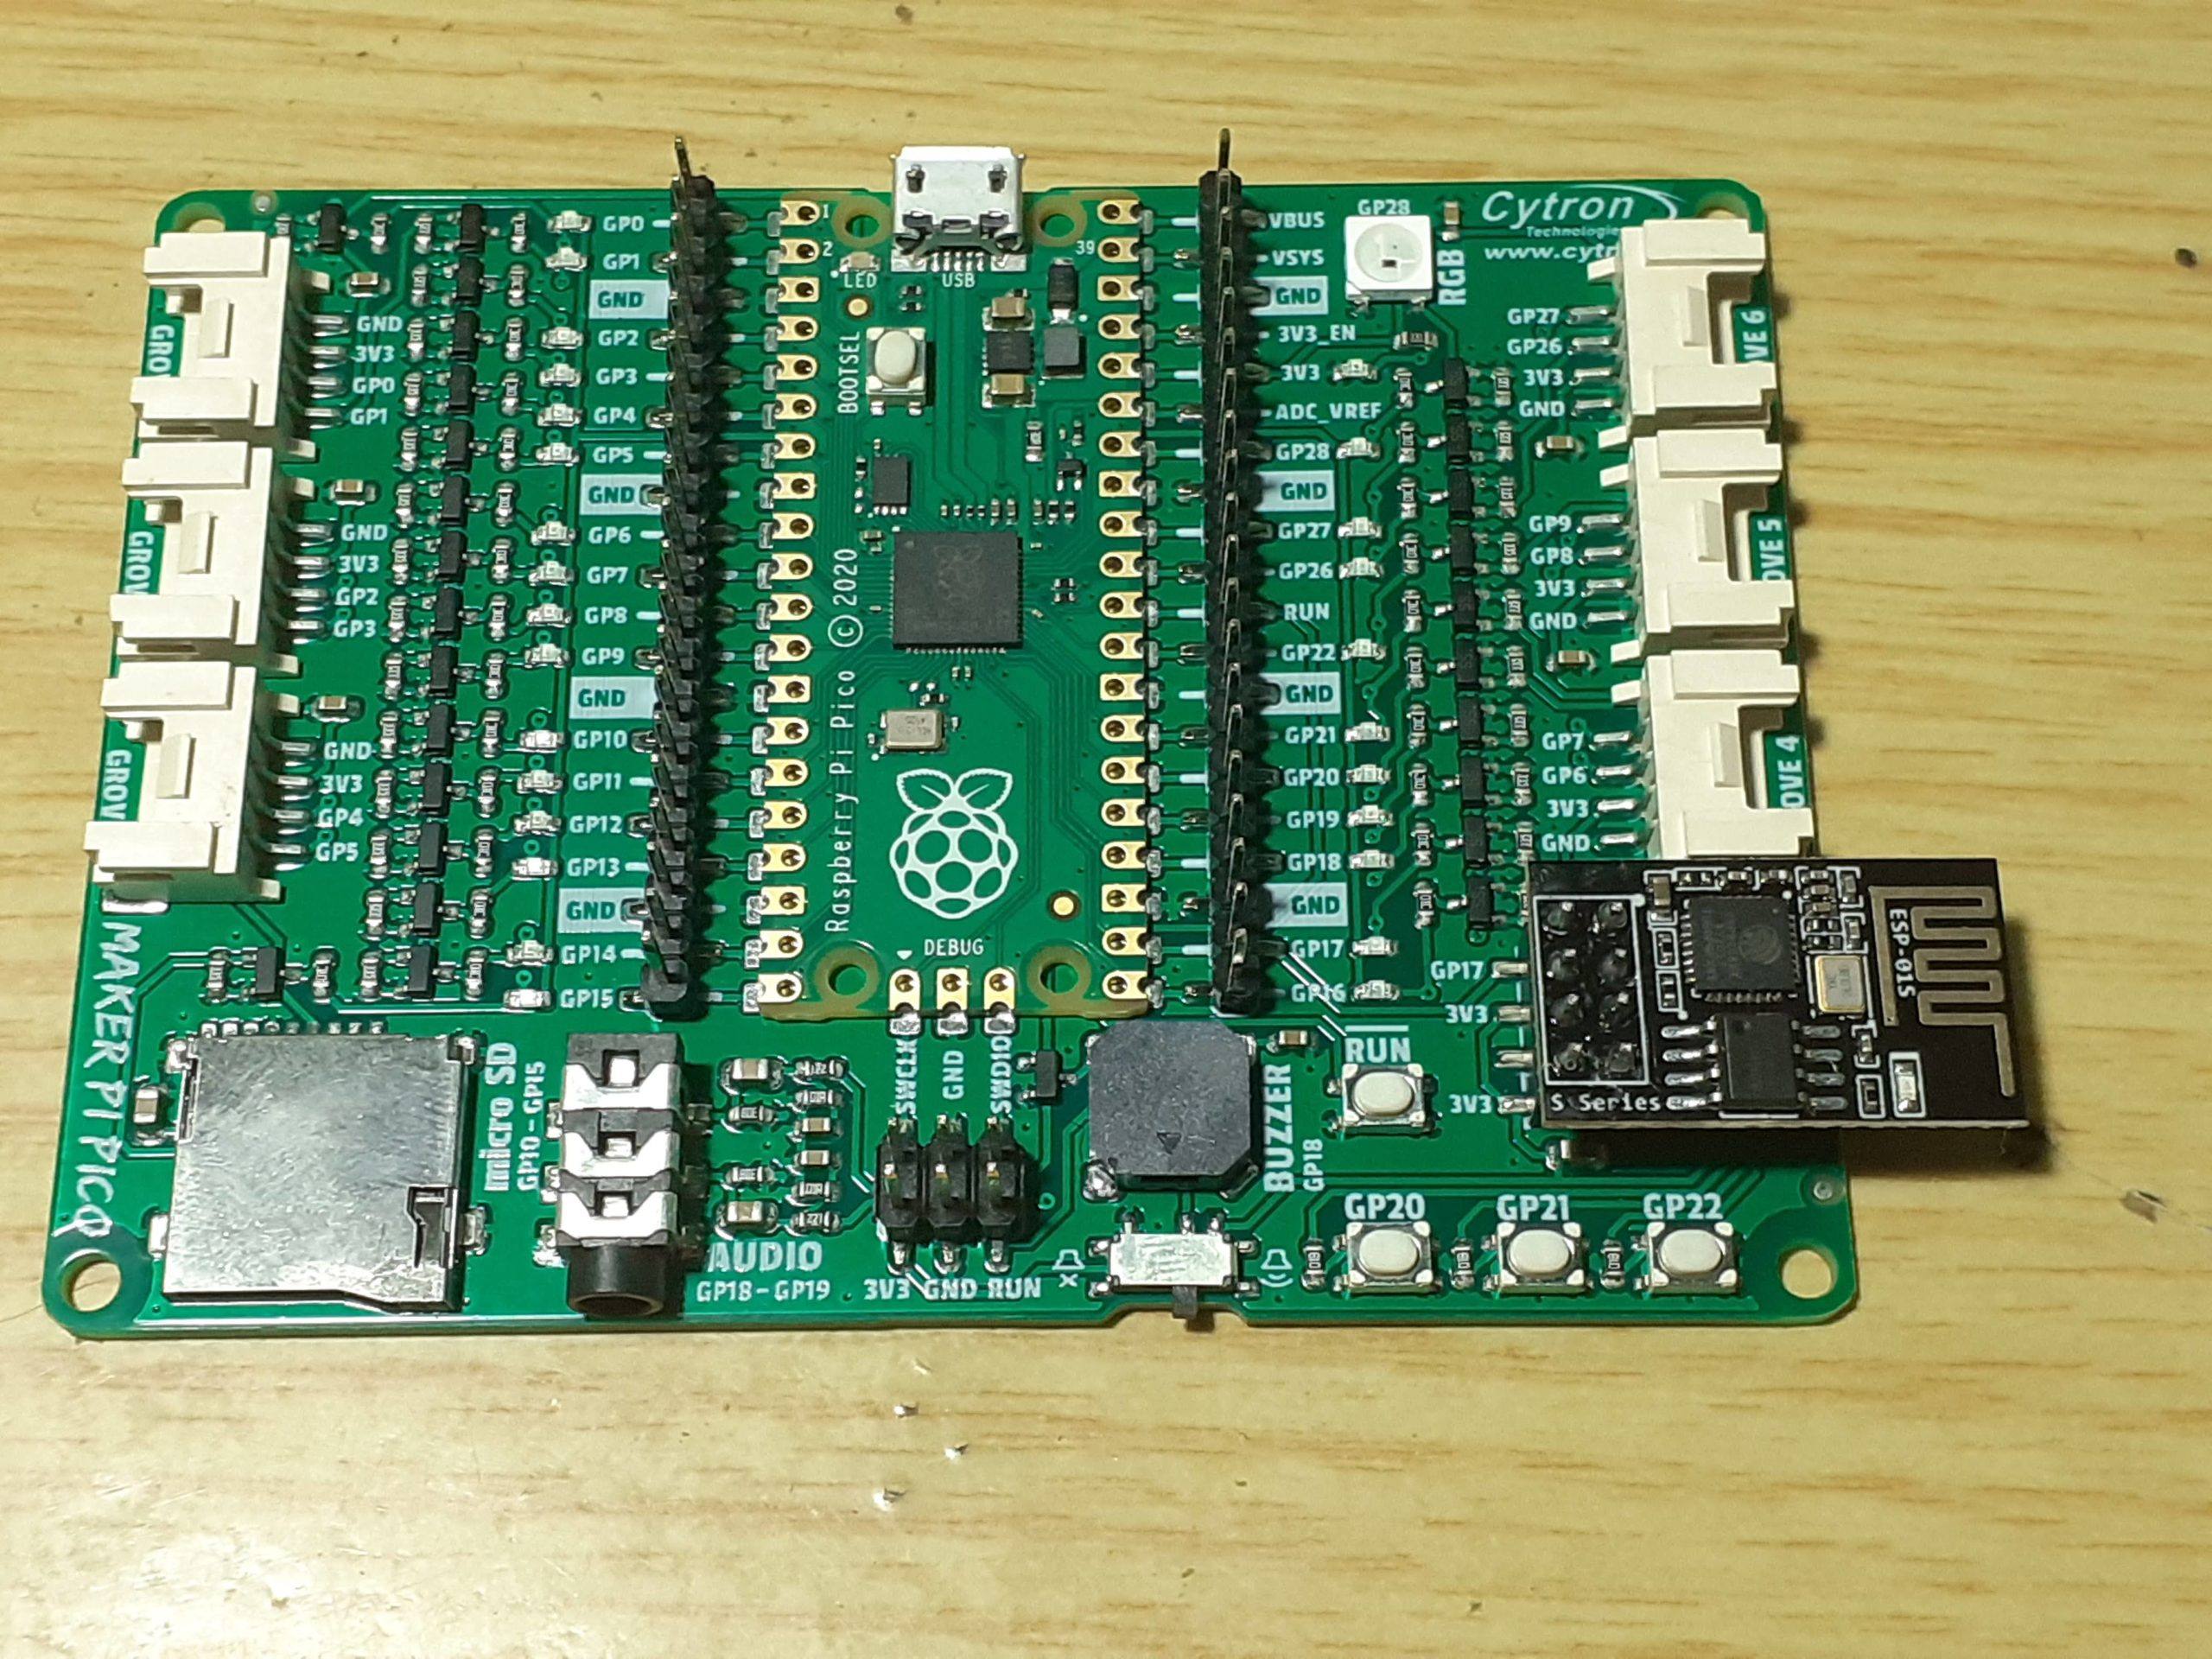
Lets get back on track though… The Maker Pi Pico has built in support for an ESP01/ESP01S Module. Lets look at the schematic….

Maker Pi Pico Schematic

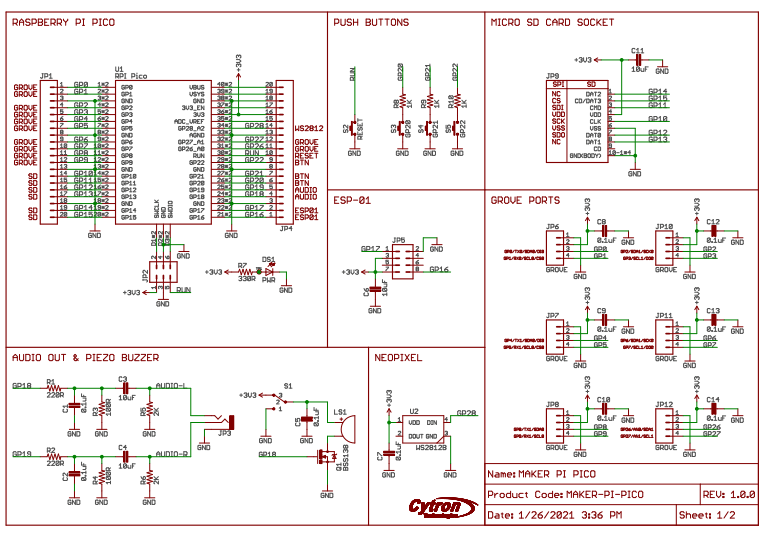
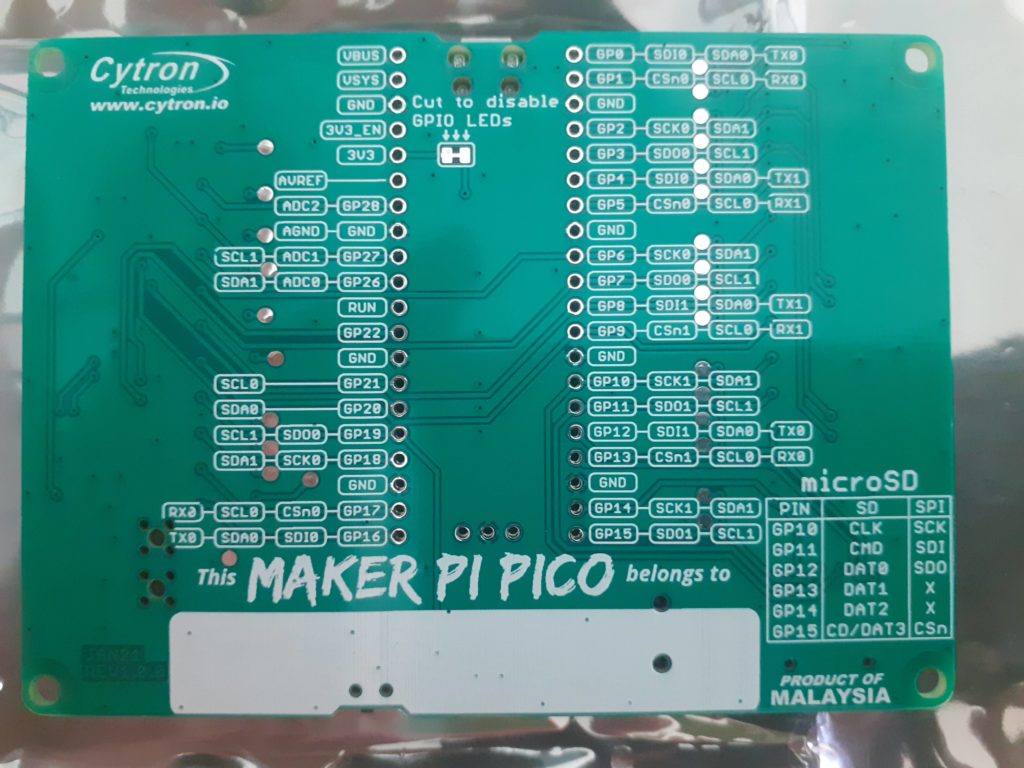
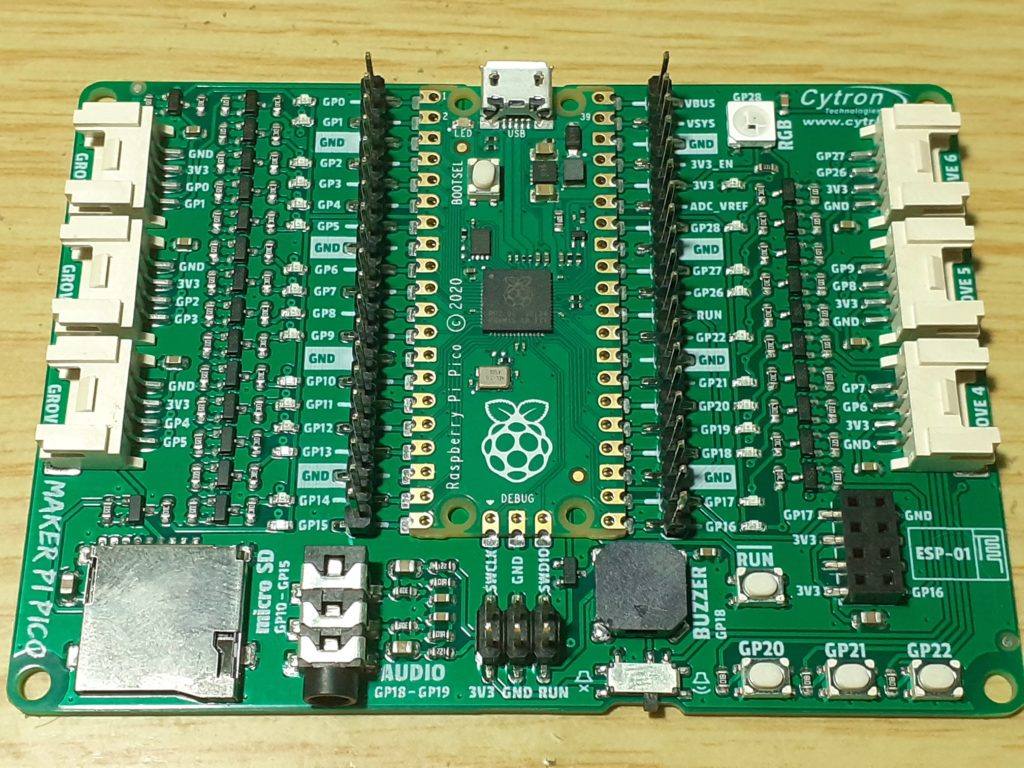
As we can see, Cytron has provided us with access to Tx (GP17) and Rx(GP16) directly on the Pi Pico. Power (+3.3v) and Ground are connected as well… On this version of the board, no access to IO0,IO2 and the Reset Pin for the ESP01/ESP01S was provided… Maybe this will change in future…?

I have used the standard AT command firmware that comes pre-loaded onto the ESP01/S module. This allows you to send AT commands to the ESP01 Module to control it. It is also possible to setup a transparent WiFi “channel” to communicate between Pico and a remote application , making it possible to control Pico remotely. I have however not prepared and example of that for release yet….

MicroPython Code to communicate with ESP01 from Maker Pi Pico

import uos
from machine import UART, Pin
import utime

"""
ESPRESSIF AT Command Set
https://docs.espressif.com/projects/esp-at/en/latest/AT_Command_Set/
"""

print()
print("Machine: \t" + uos.uname()[4])
print("MicroPython: \t" + uos.uname()[3])

#indicate program started visually
led_onboard = machine.Pin(25, machine.Pin.OUT)
led_onboard.value(0)     # onboard LED OFF/ON for 0.5/1.0 sec
utime.sleep(0.5)
led_onboard.value(1)
utime.sleep(1.0)
led_onboard.value(0)

uart0 = UART(0, rx=Pin(17), tx=Pin(16), baudrate=115200)
# NOTE that we explicitly set the Tx and Rx pins for use with the UART
# If we do not do this, they WILL default to Pin 0 and Pin 1
# Also note that Rx and Tx are swapped, meaning Pico Tx goes to ESP01 Rx 
# and vice versa.
print(uart0)

def sendCMD_waitResp(cmd, uart=uart0, timeout=2000):
    print("CMD: " + cmd)
    uart.write(cmd)
    waitResp(uart, timeout)
    print()
    
def waitResp(uart=uart0, timeout=2000):
    prvMills = utime.ticks_ms()
    resp = b""
    while (utime.ticks_ms()-prvMills)<timeout:
        if uart.any():
            resp = b"".join([resp, uart.read(1)])
    print("resp:")
    try:
        print(resp.decode())
    except UnicodeError:
        print(resp)
    
sendCMD_waitResp('AT\r\n')          #Test AT startup
sendCMD_waitResp('AT+GMR\r\n')      #Check version information
#sendCMD_waitResp('AT+RESTORE\r\n')  #Restore Factory Default Settings
sendCMD_waitResp('AT+CWMODE?\r\n')  #Query the Wi-Fi mode
sendCMD_waitResp('AT+CWMODE=1\r\n') #Set the Wi-Fi mode = Station mode
sendCMD_waitResp('AT+CWMODE?\r\n')  #Query the Wi-Fi mode again
#sendCMD_waitResp('AT+CWLAP\r\n', timeout=10000) #List available APs
sendCMD_waitResp('AT+CWJAP="jean_iot","master123abc"\r\n', timeout=5000) #Connect to AP
utime.sleep(1)
sendCMD_waitResp('AT+CIFSR\r\n')    #Obtain the Local IP Address

You can now extend and adapt this code to suit your purposes…

The ESP01/ESP01S AT Command Datasheet is available for download here

Thank you

Maker Pi Pico – Programming your board

It has been almost a week now since I received my Maker Pi Pico from Cytron Technologies in Malysia. Most of this time has been spent getting to know the RP2040 Microchip, and how to effectively program it. Cytron has done an excellent job being very quick to market with a development board based on the RPi Pico, as well as providing a very good starting foundation to new Pico users ( which I believe is all of us, at least at this stage 🙂 )


It is super easy to put your Maker Pi Pico into Upload Mode. No need to plug and unplug your USB Cable.
– Push and hold the RUN Button ( Located on the Bottom Right, Above the GP20 Push Button) .
– While holding RUN pressed, press the BOOTSEL button on the Pico, and keep it pressed.
– Release RUN and then release BOOTSEL.

You are now in BOOTSEL Mode. You can donload the official Micropython .uf2 file from the link below, or from the Raspberry Pi Website. It is also possible to install Micropython directly from inside the Thonny Python IDE.

You can also find a few examples of code written for the RPi Pico on Cytron’s Github Page

The SDK above contains all the information needed to setup the Thonny IDE to use with your Pico ( Chapter 4 ).

In my next post, I will post some of my own example code for using some additional peripherals.

Thank you

Introducing Maker PI Pico

While everybody in the Maker Community are slowly coming to terms with the release of the RPi Pico (The new development board based on the RP2040 by the Raspberry Pi Foundation) a few days ago, I got my hands on one of the first maker-friendly development boards designed with the Pico in mind. The Maker Pi Pico, made by Cytron Technologies, definitely makes it very easy to get started with the new RPi Pico.

A one-sided SMD development board, packed with useful peripherals, in a 93.98 x 68.58mm form factor, with the following components already onboard:

  • Access to all Raspberry Pi Pico’s pins on two 20 ways pin headers
  • LED indicators on all GPIO pins
  • 3x programmable push button (GP20-22)
  • 1x RGB LED – NeoPixel  (GP28)
  • 1x Piezo buzzer (GP18)
  • 1x 3.5mm stereo audio jack (GP18-19)
  • 1x Micro SD card slot (GP10-15)
  • 1x ESP-01 socket (GP16-17)
  • 6x Grove ports

Over the next few days, I will go into some of this exiting new development board`s features, as well as show you how to program it using Micropython as well as C/C++

UPDATE 5 February 2021

Although the Raspberry Pi Foundation has provided excellent documentation on programming the PICO with C/C++, I will not do any review of that here at this time. The reasons being the following:

1) It seems that PICO was indeed designed as a companion to a Raspberry PI 4B. All the C/C++ tools are geared towards that or Linux. I use Linux in my everyday computing life, but most of you don’t.
2) At the moment, the most reliable way that I can program this board in C/C++ is from the command line.
Support for many IDE’s seems to be available. But it is PAINFUL, to say the least.
VS Source or CLION or ECLIPSE, neither IDE’s that I like or use, due to their clutter and slow performance / unnecessary complexity etc.
3) It is possible to use MS Windows or a MAC, but same rules apply.

Another reason is that you have to enter BOOTSEL mode each time you want to upload or use a debugger, which, if you don’t have a PI, means another PICO. Plugging and unplugging a USB cable that often can not be good for the connector in the long term.

For these reasons, and to keep it simple and easily understandable for everyone, I shall keep to Micropython for the time being.

Please stay in touch for more updates, and feel free to contact me for more information.