Assembling the Mushroom House Controller – Part 2

A Collaboration with Maesai Prasisart School, Measai, Chiang Rai, Thailand
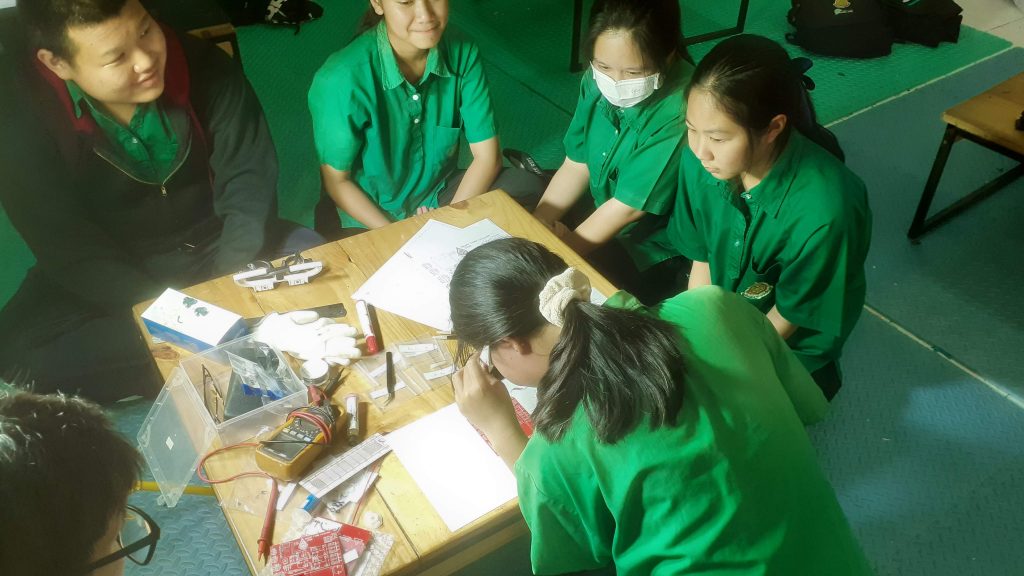

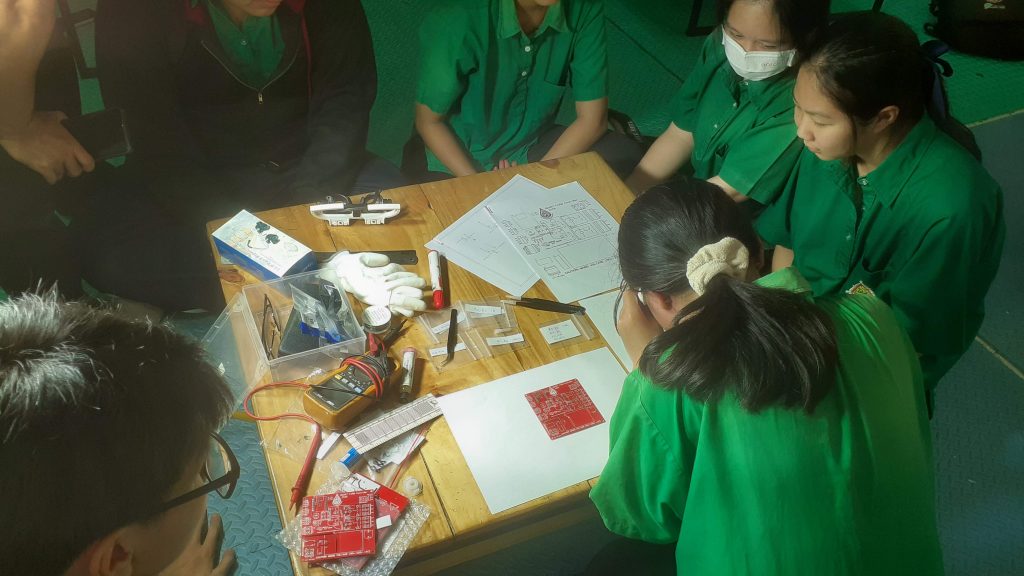
In part two of the project, we let the students assemble the Mushroom house controller that they helped to design. It is important to note that they have never done any of this before, and also that most of the components are SMD.

This made for some interesting moments…

The PCB Arrives

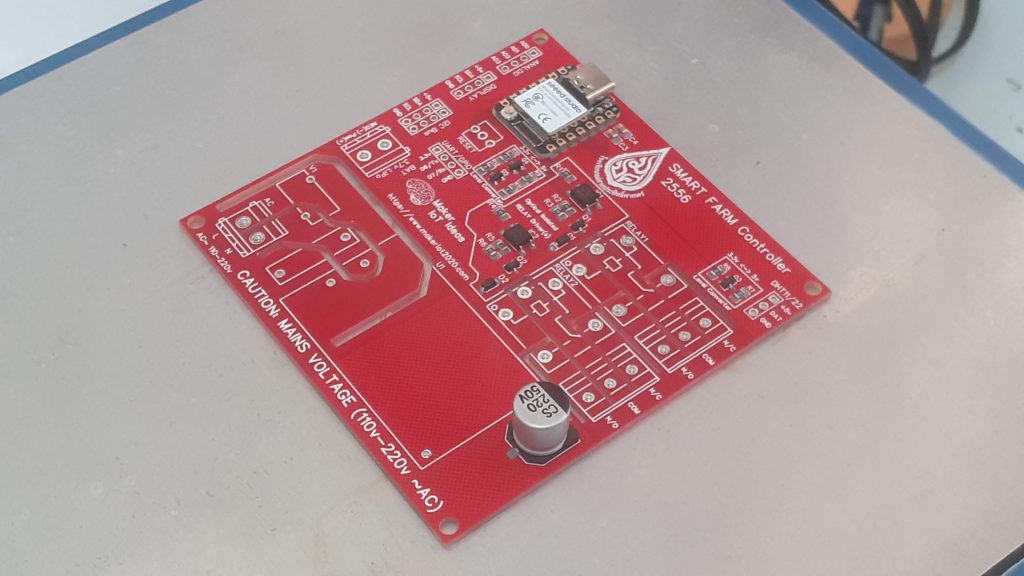
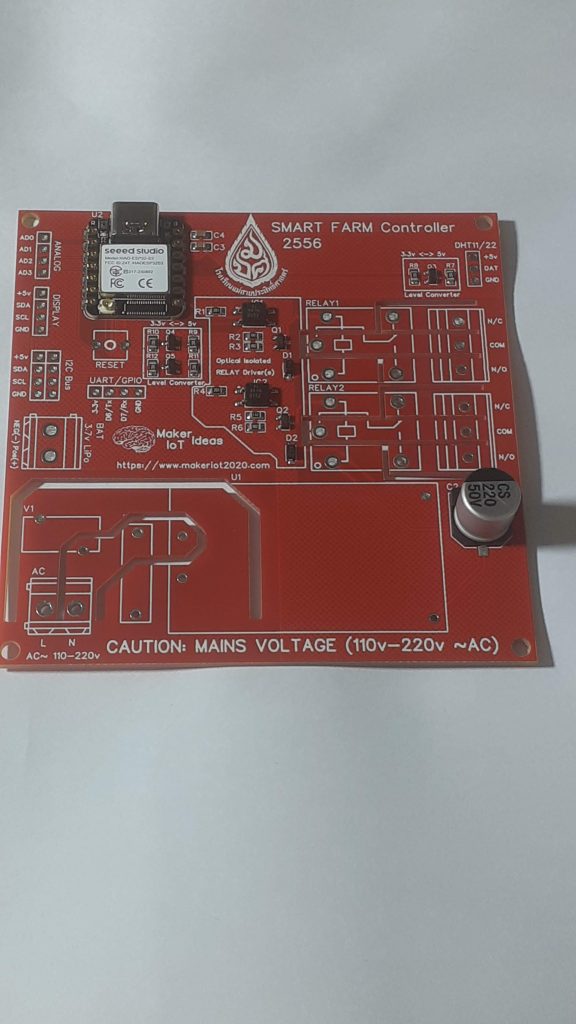
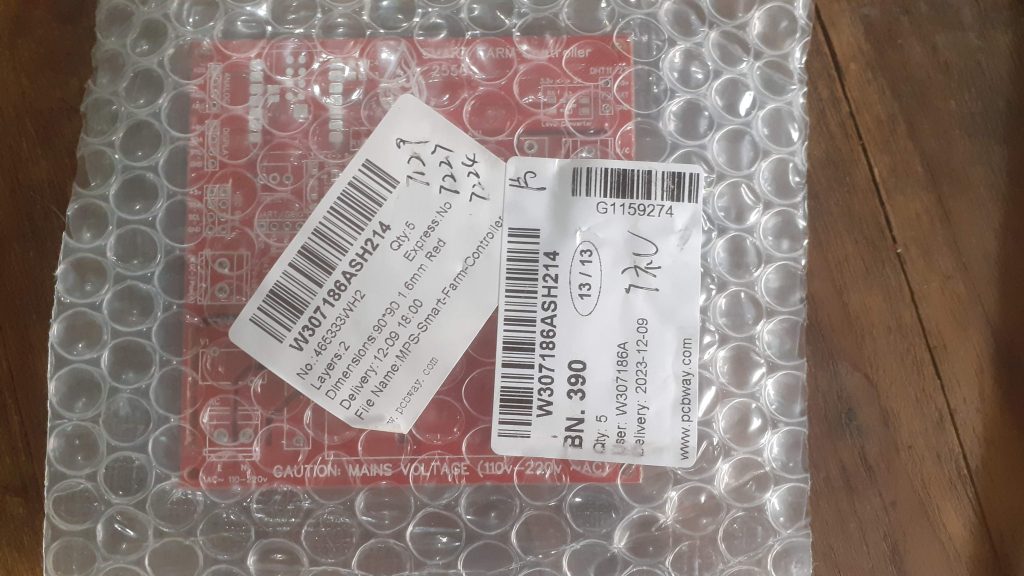
The PCB arrived from the factory, and after an initial inspection by myself, we took it to the school so that a specially selected group of students can try their hand at assembling it.
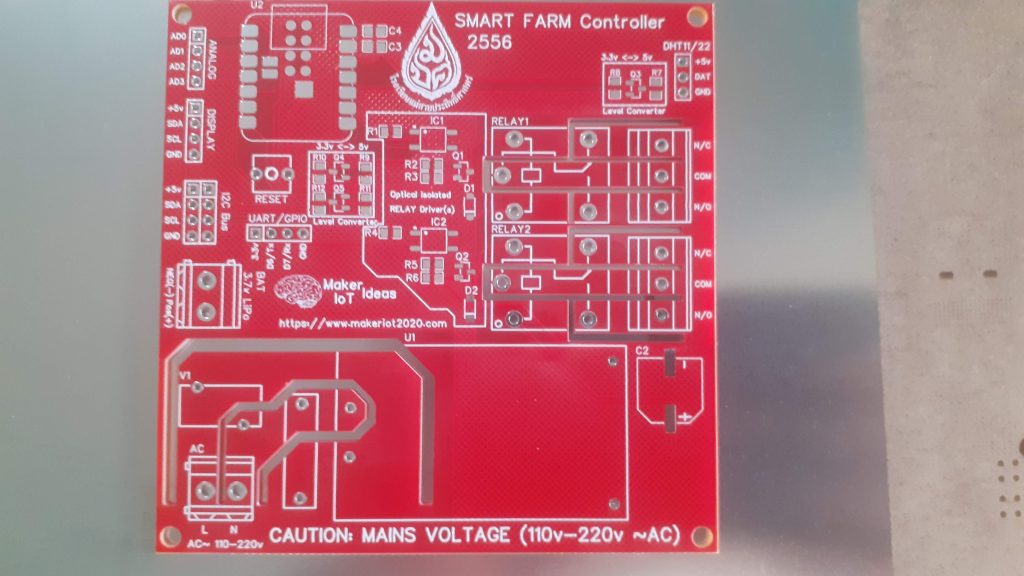
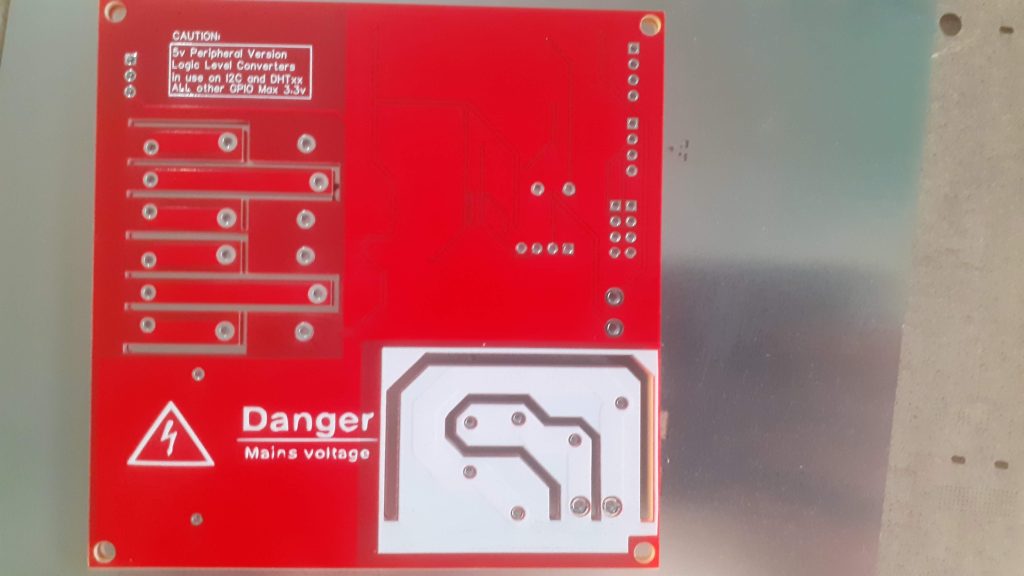
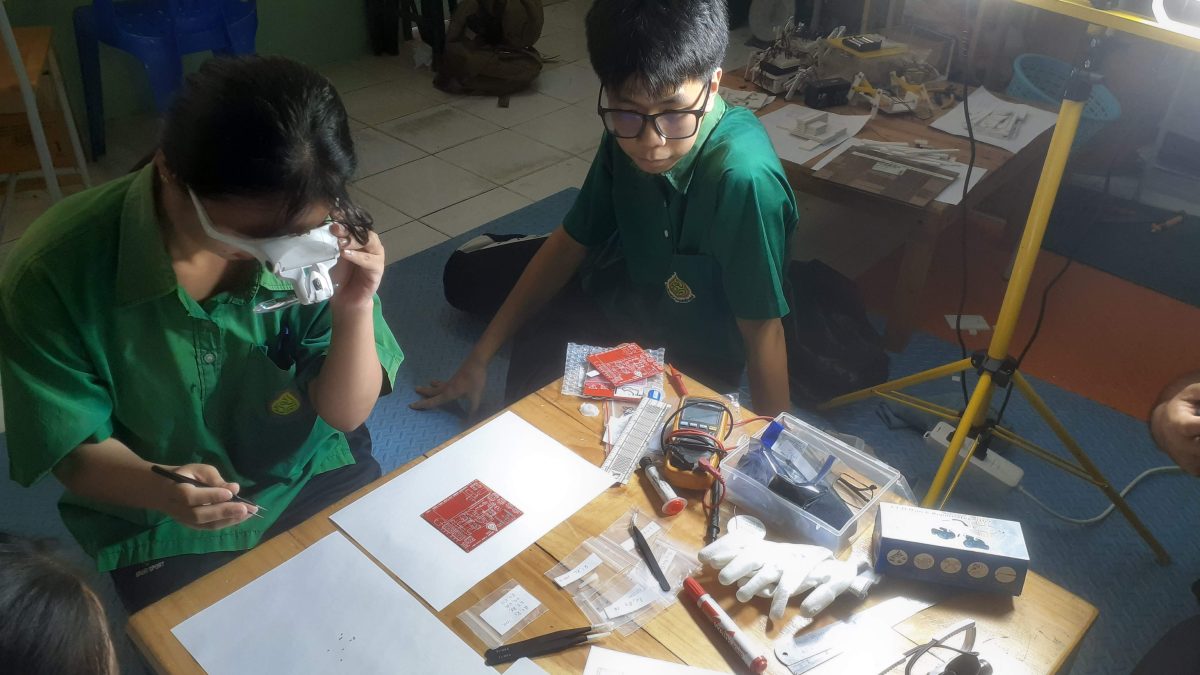
One of the first remarks by the students was that everything was so tiny… Having never seen SMD assembly, they wrongly assumed that they would be required to manually solder the components using traditional solder and a soldering iron… This feeling of “dismay” was greatly increased when we started laying out the small bags with components.

I choose PCBWay for my PCB manufacturing. Why? What makes them different from the rest?

PCBWay‘s business goal is to be the most professional PCB manufacturer for prototyping and low-volume production work in the world. With more than a decade in the business, they are committed to meeting the needs of their customers from different industries in terms of quality, delivery, cost-effectiveness and any other demanding requests. As one of the most experienced PCB manufacturers and SMT Assemblers in China, they pride themselves to be our (the Makers) best business partners, as well as good friends in every aspect of our PCB manufacturing needs. They strive to make our R&D work easy and hassle-free.

How do they do that?

PCBWay is NOT a broker. That means that they do all manufacturing and assembly themselves, cutting out all the middlemen, and saving us money.

PCBWay’s online quoting system gives a very detailed and accurate picture of all costs upfront, including components and assembly costs. This saves a lot of time and hassle.

PCBWay gives you one-on-one customer support, that answers you in 5 minutes ( from the Website chat ), or by email within a few hours ( from your personal account manager). Issues are really resolved very quickly, not that there are many anyway, but, as we are all human, it is nice to know that when a gremlin rears its head, you have someone to talk to who will do his/her best to resolve your issue as soon as possible.

Find out more here

The Assembly


To make things easier for them, I had previously selected all components, and together with a label and component designators, placed each component into a separate anti-static plastic bag. This achieved two things – it shielded the students from having to handle reels of components, potentially resulting in a lot of wastage, and it make it almost impossible to place a wrong component in a wrong place, as each of the bags were clearly marked with the specific component designator of the component it contained.


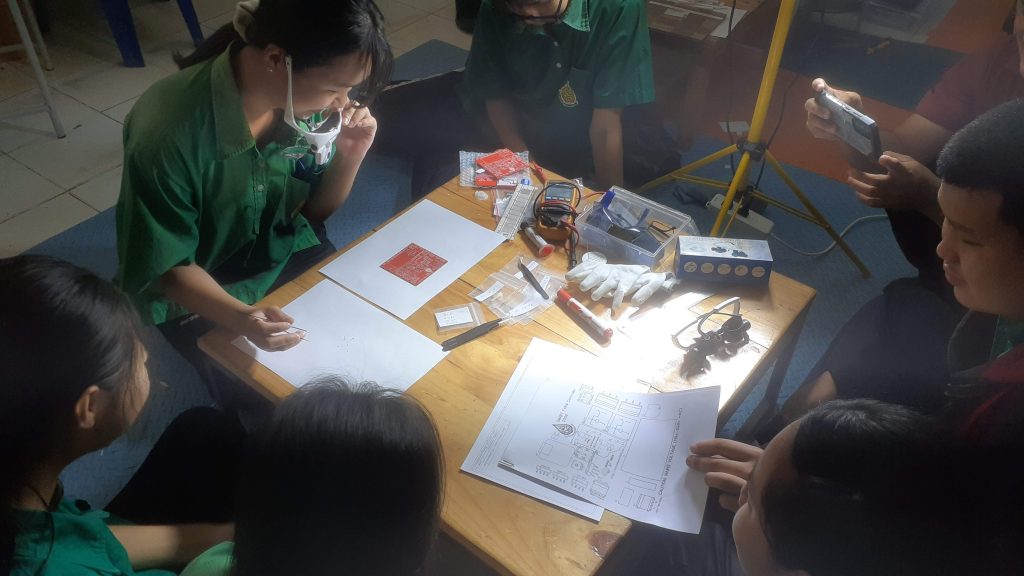
Their feelings of “dismay” were quickly replaced with wonder as I used a stencil to apply solder paste to the PCB. There were also confusing present, as they could not understand how the “sticky” solder would melt and keep the component in place. They were also quite worried about placing the components onto the PCB – that was until they saw that there was a selection of fine tweezers set out to use for exactly this purpose…

They now became very excited and took turns to each place a few components onto the PCB. I took special care to keep the diodes, optic isolators and microcontroller well away from them, at least until I explained that these components were polarised, or had to be placed in a specific orientation onto the board.

After a bit of struggling with the diodes, as well as the microcontroller, all the SMD components were eventually correctly placed onto the PCB. I now took over and used a hotplate to reflow the PCB.


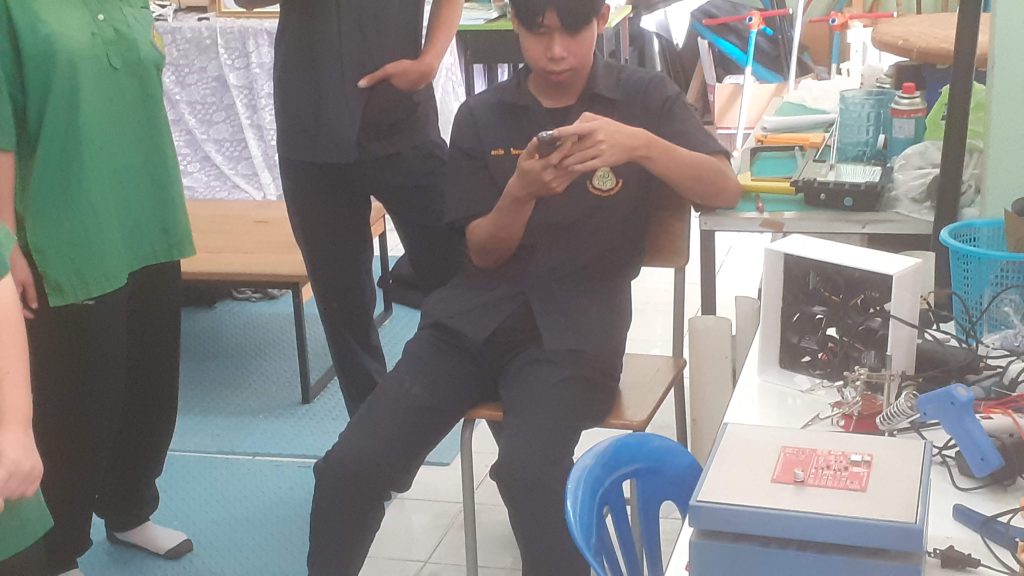
This process completely amazed them, or at least, most of them, as some took this opportunity to continue with the ever present interaction of students and mobile phones that are so common in SE Asia 🙂

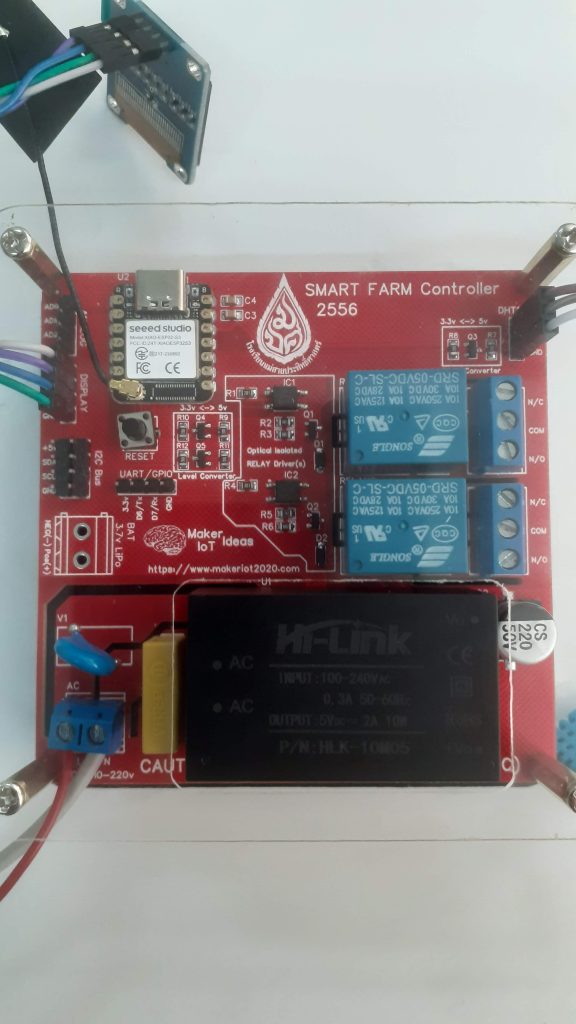
The PCB was now reflowed, and after a short break to let things cool down, we continued with the soldering and assembly of the through-hole components.


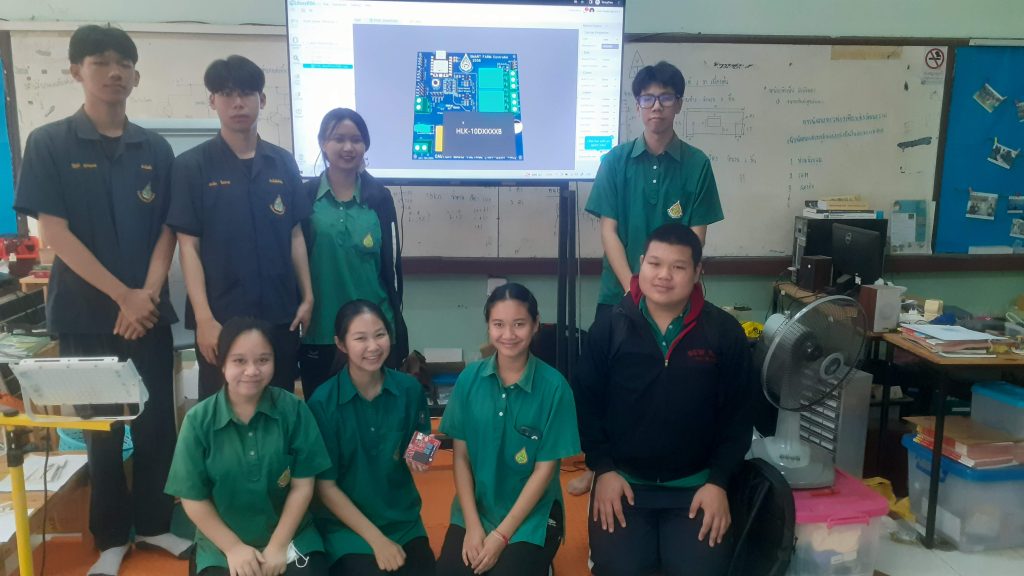
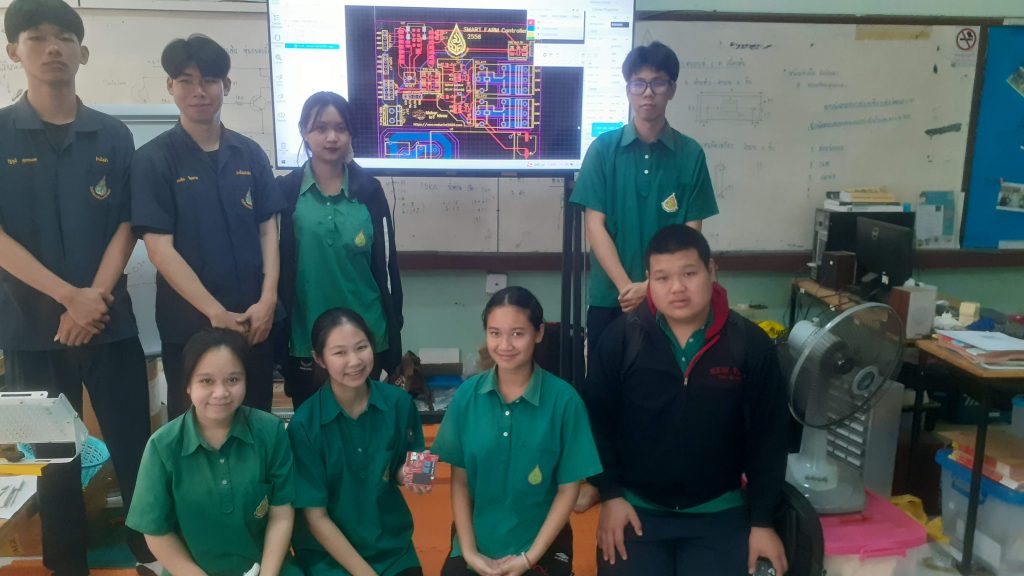
The proceedings would not be complete without a group photo of the students and the PCB that they assembled.

Conclusion of part 2

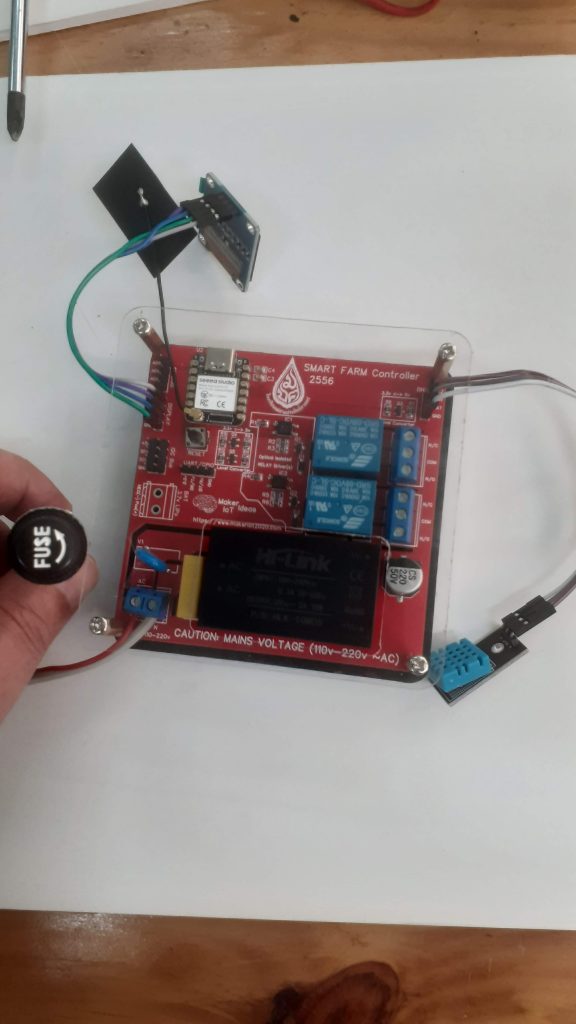
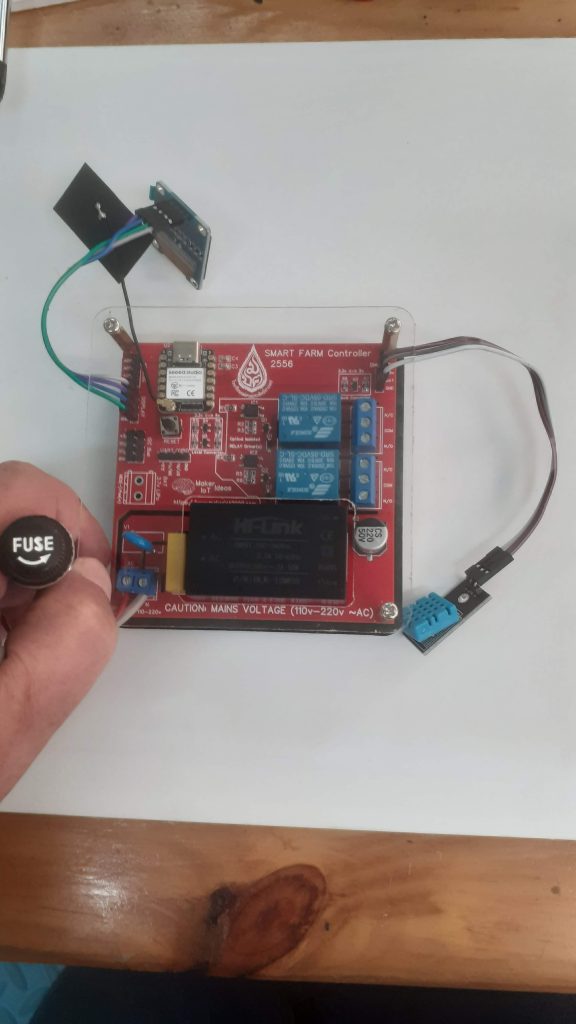
With the PCB now assembled, I used my desktop CNC machine to cut acrylic plastic to form a protective shell. The PCB will soon be installed at the remote site shown in part 1, and while it will be inside a IP65 electrical enclosure, I still felt the need for a little bit of added protection.

The firmware development is complete, and we are currently busy bringing the students up to date with the exact operation thereof. Our goal is that they would at least try to create their own version of the firmware for use in the electronics lab, as well as a comparison between my version of the firmware and theirs.

From the smiles on their faces during the entire process, it was quite obvious that they really enjoyed this project.

Mushroom House Controller – Part 1

A Collaboration with Maesai Prasisart School, Maesai, Chiang Rai, Thailand


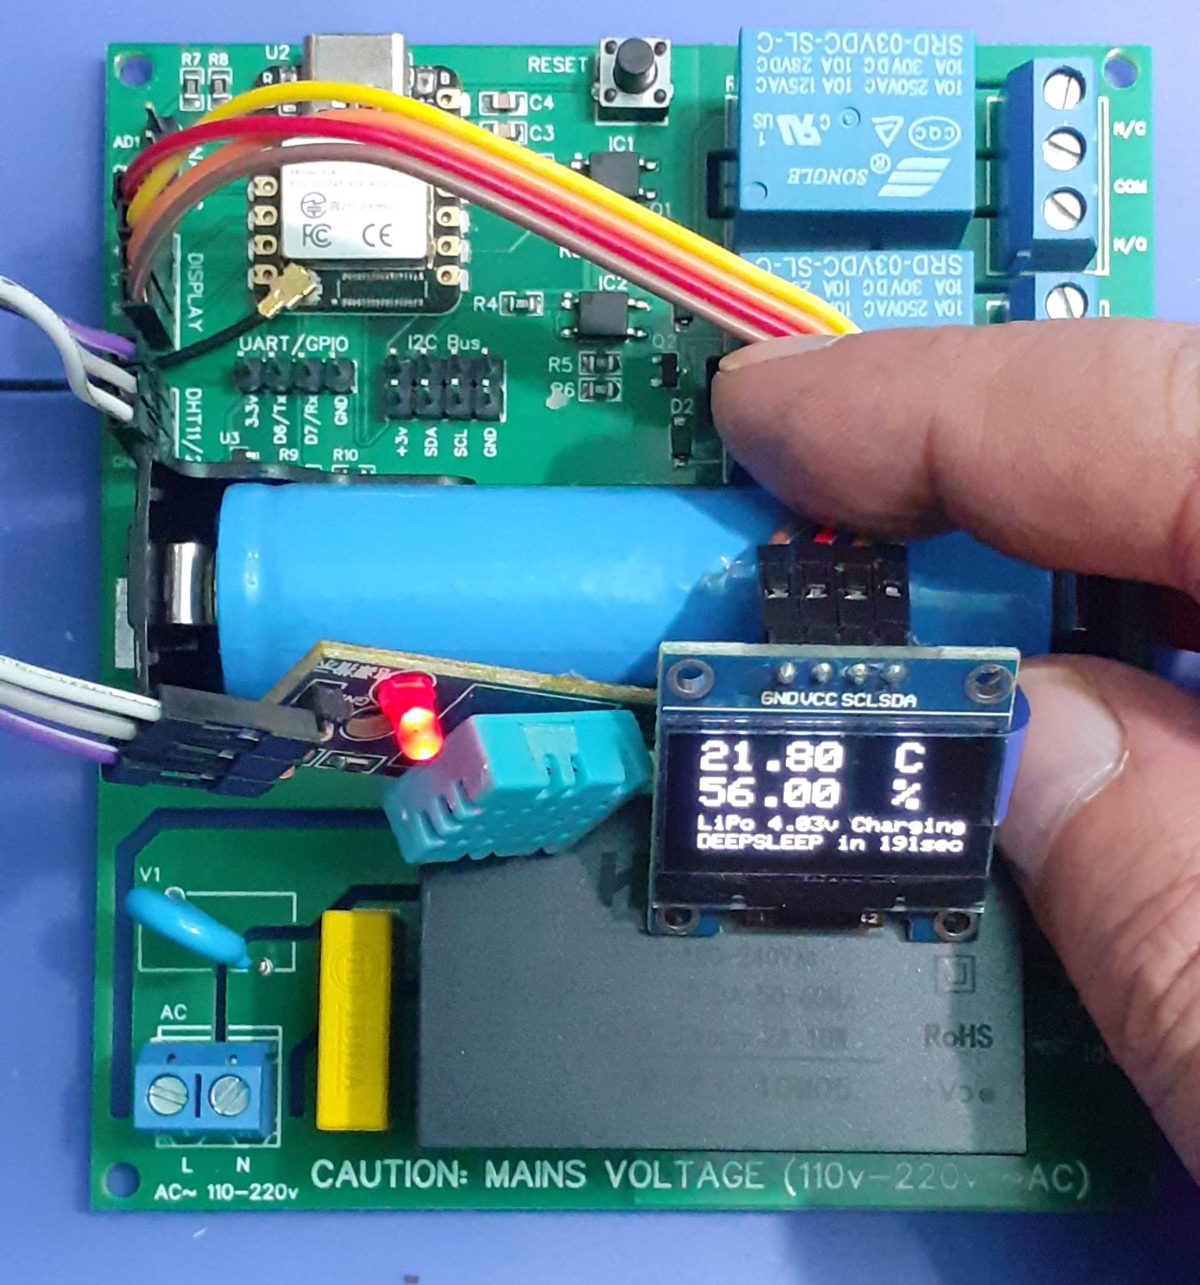
A short while ago, the local high school in my area and myself decided to collaborate on a real-world project regarding an IoT device. The device (prototype above) will be used as a controller in an Oyster Mushroom growing house, which in turn will be managed by the members of a local disabled persons association. This is very exciting for a few reasons…

I will get the opportunity to teach interested students how to solve real-world problems using electronics, as well we will do something for the community and thus contribute to making the lives of the local disabled people a bit easier.

In the long term, the data collected by the device can be used to teach other mushroom growers in the area about the optimum environment to help them ensure that they get the perfect harvest every time…

In this post, I will thus do things a little differently from my normal setup, and focus more on the collaboration, as well as teaching moments. I shall also include quite a lot of pictures. The usual schematics and PCB descriptions shall still be available, but only on the PCBWay Shared projects page ( link to be added in due course)

The initial idea is to produce two different PCB’s with basically the same function, for the time being designed by myself. One, used in this post, will be a 3.3v version, with battery backup, and the other will be a 5v version, with level converters ( I could not resist the potential teaching opportunity that these provided) and no battery backup. The 5v version, which I shall introduce in part 2 will be assembled by the students, while I shall assemble the 3.3v version.

Further to that, the goal is to break the PCB up into logical modules and teach the students about each module. Their task would be to then design a PCB of that module, and in the end, combine all the modules into a functional project.
As a further part to this, a special interest group shall then make use of the knowledge learnt during the development of the modules to design a third PCB including all of those modules, as well as any other that they find may be needed, assemble it and use it in the real world.

Gallery – At the remote site

Over here, Grade 12 students assist in the construction of a mushroom house.
The pictures do not need a lot of captions, as they are quite self-explanatory

The next day, in the classroom

We started with a prototype on a breadboard, with some basic firmware. This was followed by a simple PCB design (with frequent 3D views so that the students could see what was happening)


This was followed by a practical session where the students had the opportunity to try their hand at designing a part of the PCB. It is quite important that we understand that this is the very very first time in their lives that they were ever exposed to this. They were all extremely excited and some grasped the concepts quite fast, while others took a more cautious approach…

Manufacturing the PCB

Now it was up to me to finalise the initial design and get it manufactured.


I choose PCBWay for my PCB manufacturing. Why? What makes them different from the rest?

PCBWay‘s business goal is to be the most professional PCB manufacturer for prototyping and low-volume production work in the world. With more than a decade in the business, they are committed to meeting the needs of their customers from different industries in terms of quality, delivery, cost-effectiveness and any other demanding requests. As one of the most experienced PCB manufacturers and SMT Assemblers in China, they pride themselves to be our (the Makers) best business partners, as well as good friends in every aspect of our PCB manufacturing needs. They strive to make our R&D work easy and hassle-free.

How do they do that?

PCBWay is NOT a broker. That means that they do all manufacturing and assembly themselves, cutting out all the middlemen, and saving us money.

PCBWay’s online quoting system gives a very detailed and accurate picture of all costs upfront, including components and assembly costs. This saves a lot of time and hassle.

PCBWay gives you one-on-one customer support, that answers you in 5 minutes ( from the Website chat ), or by email within a few hours ( from your personal account manager). Issues are really resolved very quickly, not that there are many anyway, but, as we are all human, it is nice to know that when a gremlin rears its head, you have someone to talk to who will do his/her best to resolve your issue as soon as possible.

Find out more here

Conclusion – Part 1

The assembly of the first board was done by myself, and firmware development was started. Stay tuned for Part 2 where the students will get the opportunity to assemble a SMD PCB for the very first time in their lives…

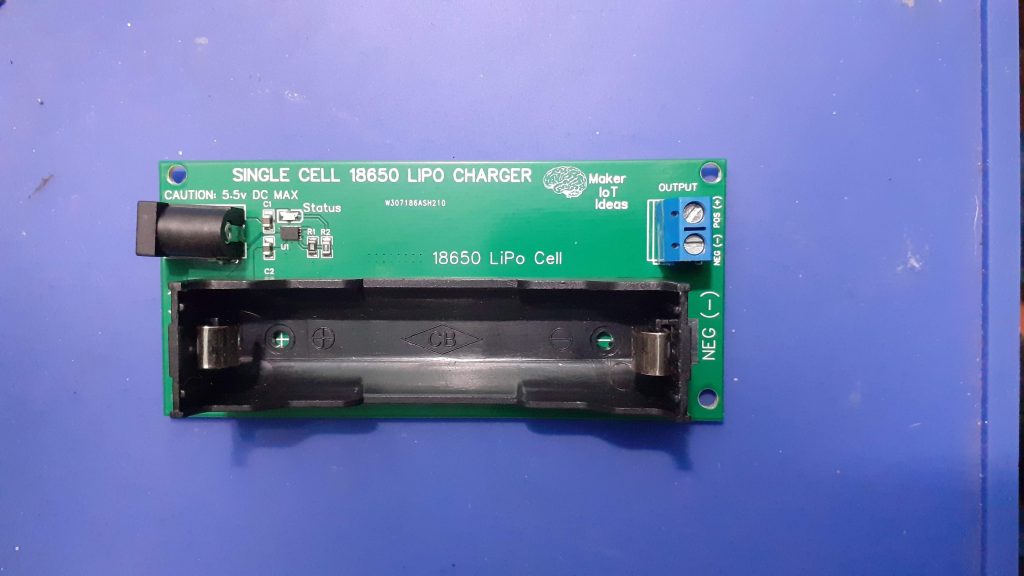
Single Cell Lipo Charger

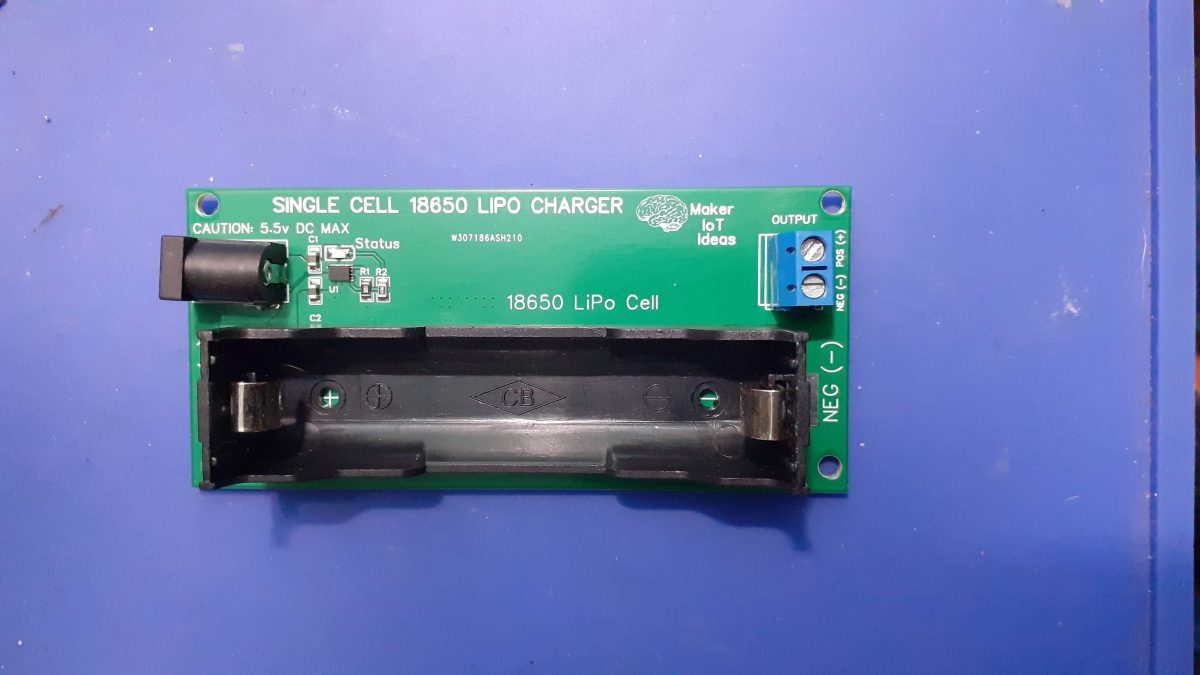
This single cell lipo charger was created to solve a problem I encountered during a recent project. I constantly needed to recharge 18650 cells, and while I could also use my 4-cell charger, that didn’t always turn out to be the most practical. I also intend to use this small charger as a building block for a future complete power solution, including a boost converter, more protection features and proper cell status indication…

I am currently moving towards building more projects that will be used outside, “in the wild” and thus need a reliable way to power those. True to my way of doing things, I want to build my own stuff as far as possible. That way, I learn more about the technology, and I am sure that everything meets my exact specifications.

What is on the PCB?

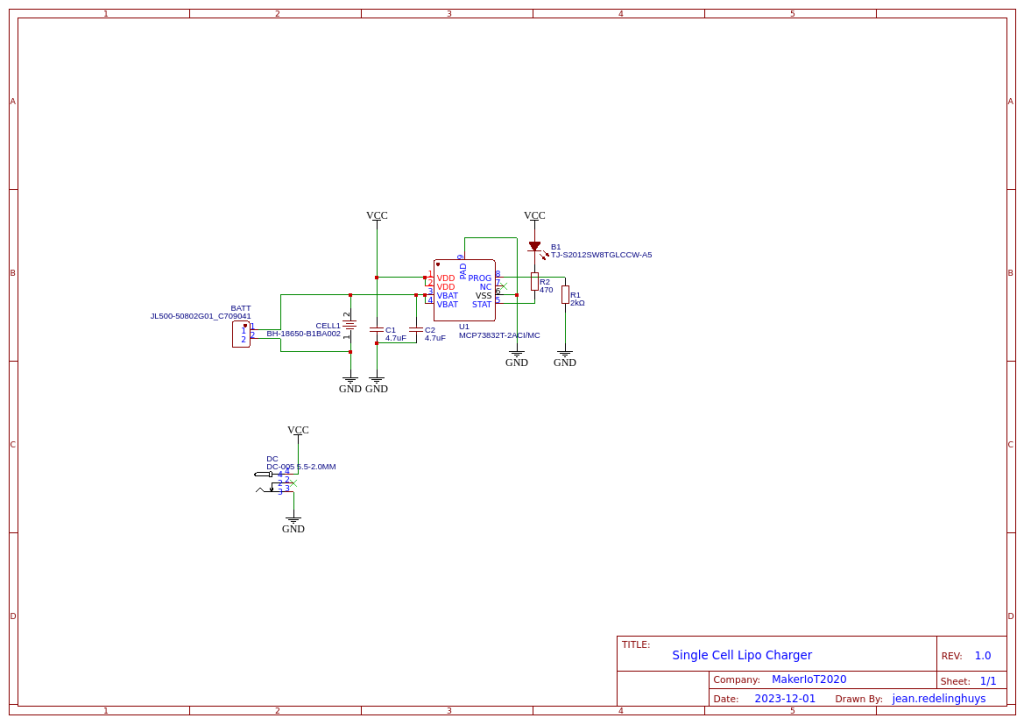
The charger is based on the MCP73832T, by Microchip, which contains quite a lot of useful features, in a small package as well at a relatively small price tag, and with very few other required supporting components.

  • Linear Charge Management Controller:
  • Integrated Pass Transistor
  • Integrated Current Sense
  • Reverse Discharge Protection
  • High Accuracy Preset Voltage Regulation: + 0.75%
  • Four Voltage Regulation Options:
  • 4.20V, 4.35V, 4.40V, 4.50V
  • Programmable Charge Current: 15 mA to 500 mA
  • Selectable Preconditioning:
  • 10%, 20%, 40%, or Disable
  • Selectable End-of-Charge Control:
  • 5%, 7.5%, 10%, or 20%
  • Charge Status Output
  • Tri-State Output – MCP73831
  • Open-Drain Output – MCP73832
  • Automatic Power-Down
  • Thermal Regulation
  • Temperature Range: -40°C to +85°C
  • Packaging:
  • 8-Lead, 2 mm x 3 mm DFN
  • 5-Lead, SOT-23

A proper screw-type connection terminal on the output, as well as a DC Barrel Jack on the input, completes the PCB. On future revisions, I will seriously consider having a voltage-limiting circuit on the input side, since the MCP73832T is only capable of accepting an input voltage of up to 5.5v DC.

This is not a problem to me, as I will be using the current version for my own personal use. I do however believe it is essential to ensure that no over-voltage conditions can accidently occur BEFORE I will give this to someone else to use.

The schematic

Manufacturing the PCB

I choose PCBWay for my PCB manufacturing. Why? What makes them different from the rest?

PCBWay‘s business goal is to be the most professional PCB manufacturer for prototyping and low-volume production work in the world. With more than a decade in the business, they are committed to meeting the needs of their customers from different industries in terms of quality, delivery, cost-effectiveness and any other demanding requests. As one of the most experienced PCB manufacturers and SMT Assemblers in China, they pride themselves to be our (the Makers) best business partners, as well as good friends in every aspect of our PCB manufacturing needs. They strive to make our R&D work easy and hassle-free.

How do they do that?

PCBWay is NOT a broker. That means that they do all manufacturing and assembly themselves, cutting out all the middlemen, and saving us money.

PCBWay’s online quoting system gives a very detailed and accurate picture of all costs upfront, including components and assembly costs. This saves a lot of time and hassle.

PCBWay gives you one-on-one customer support, that answers you in 5 minutes ( from the Website chat ), or by email within a few hours ( from your personal account manager). Issues are really resolved very quickly, not that there are many anyway, but, as we are all human, it is nice to know that when a gremlin rears its head, you have someone to talk to who will do his/her best to resolve your issue as soon as possible.

Find out more here

Assembly and Testing

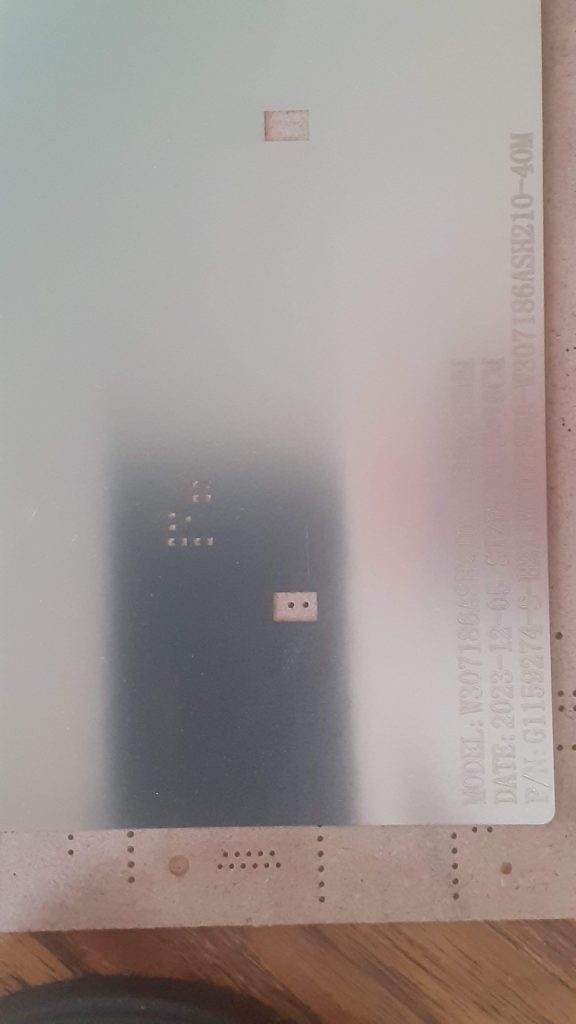
Assembly of this PCB was quite easy, providing that you have a stencil, it will not take you more than a few minutes.


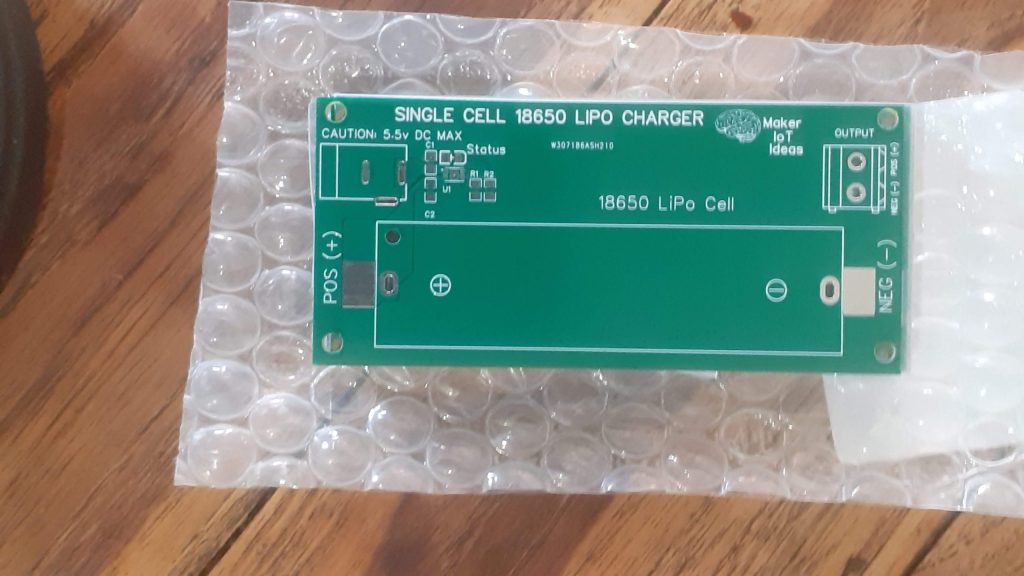
The PCB’s really came out very nicely 🙂


I have also made provision for using a through-hole 18650 battery holder, just in case you are like me, and have a few lying around in a drawer, or could just not be bothered with using the SMD version…


The completed PCB is relatively small and compact, taking into consideration the size of the 18650 cell of course… The screw terminal on the output really helps to keep everything secure when using the module to power a project, and the DC barrel jack provides a good connection to charge it all back up again…
Now, If I just remembered to add some form of voltage limiting on the input, as well as include a boost converter, It would be the perfect little “power bank” project… For now though, let’s leave those features to the future, as this is already extremely useful as is.