
The Rp2040 chip from the RaspberryPi foundation should be quite well known to everybody by now. Many companies have also released their own development boards based on it. The original Raspberry Pi Pico is popular, based on its small size.

For myself, there is however a serious drawback, its small size, while perfect for breadboard, made it necessary for the developers to place the pinouts on the back of the board. This makes it necessary to either memorise the pinouts or always have a pinout diagram handy when working with it.
The module also comes with castellated holes, making it ideal to place onto a custom PCB as a “component”. This got me thinking, I can easily design a custom RP2040-based PCB, but manually assembling the tiny RP2040 is something that my poor eyesight will make a bit challenging (staring at computer screens for many years does really take its toll as you get older).

Finding components in stock (excluding the RP2040) is also a challenge in my area.
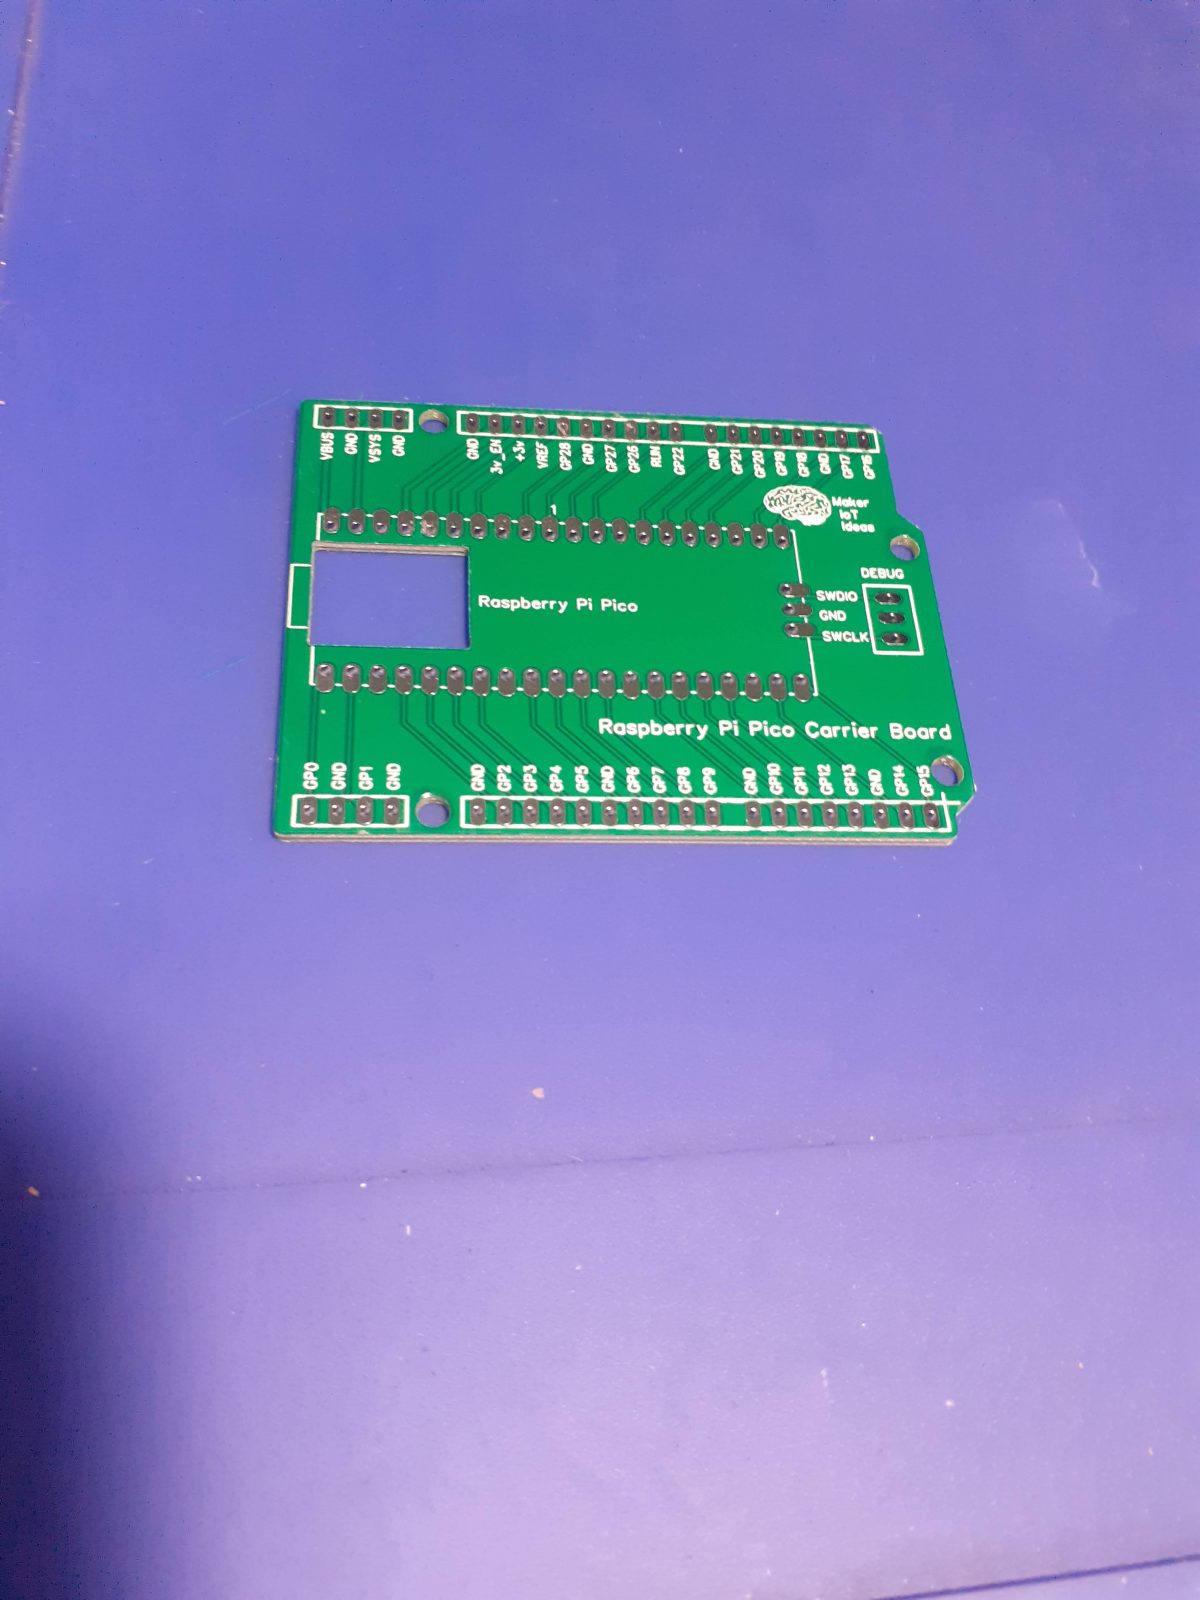
This made me think about taking a popular footprint ( like the Arduino Uno ), and placing a Pico module directly onto the board, labelling all the pins clearly on the front, and installing female headers to access them.
While it is obviously not a very complicated PCB, it will definitely help me to utilise the fantastic little chip more effectively.

Assembling the PCB should only take a few minutes, as you only have to solder the pico and female header pins to the board. When completed, it should look like this:

If you have already soldered headers to your Pico, you can still use this PCB as well. You can also use the new Pico W with this board, the only difference is that the Pico W does not have castellated holes on the pins, so you would have to use header-pins. Also, the debug port now has a connector, so you will have to use the port directly on the Pico for that.
A good introduction to the new Pico-W can be found here. I have not bought any yet, so have no pictures to show, or comments to make on its operation.
What is next
I have plans to start designing a series of add-on shields with specific functions for this platform, since being freed from the breadboard, the Raspberry Pi Pico suddenly became much more interesting to me.
While smaller seems to be better in the electronics world of today, breadboarding, in my humble opinion, is quite aged, and can be extremely unreliable, due to poor connections etc. It is however very quick and fast, without requiring you to solder anything.
I am thus attempting to get the best of both worlds, by not being tied down to a breadboard, but with the freedom to go there if I choose, or just designing and using a custom shield of my choosing.
Manufacturing
Over the past eight years, PCBWay has continuously upgraded their MANUFACTURING plants and equipment to meet higher quality requirements, and now THEY also provide OEM services to build your products from ideas to mass production and access to the market.
The PCB for this project has been manufactured at PCBWay.
Please consider supporting them if you would like your own copy of this PCB, or if you have any PCB of your own that you need to have manufactured.

If you would like to have PCBWAY manufacture one of your own, designs, or even this particular PCB, you need to do the following…
1) Click on this link
2) Create an account if you have not already got one of your own.
If you use the link above, you will also instantly receive a $5 USD coupon, which you can use on your first or any other order later. (Disclaimer: I will earn a small referral fee from PCBWay. This referral fee will not affect the cost of your order, nor will you pay any part thereof.)
3) Once you have gone to their website, and created an account, or login with your existing account,

4) Click on PCB Instant Quote

5) If you do not have any very special requirements for your PCB, click on Quick-order PCB

6) Click on Add Gerber File, and select your Gerber file(s) from your computer. Most of your PCB details will now be automatically selected, leaving you to only select the solder mask and silk-screen colour, as well as to remove the order number or not. You can of course fine-tune everything exactly as you want as well.


7) You can also select whether you want an SMD stencil, or have the board assembled after manufacturing. Please note that the assembly service, as well as the cost of your components, ARE NOT included in the initial quoted price. ( The quote will update depending on what options you select ).

8) When you are happy with the options that you have selected, you can click on the Save to Cart Button. From here on, you can go to the top of the screen, click on Cart, make any payment(s) or use any coupons that you have in your account.
Then just sit back and wait for your new PCB to be delivered to your door via the shipping company that you have selected during checkout.