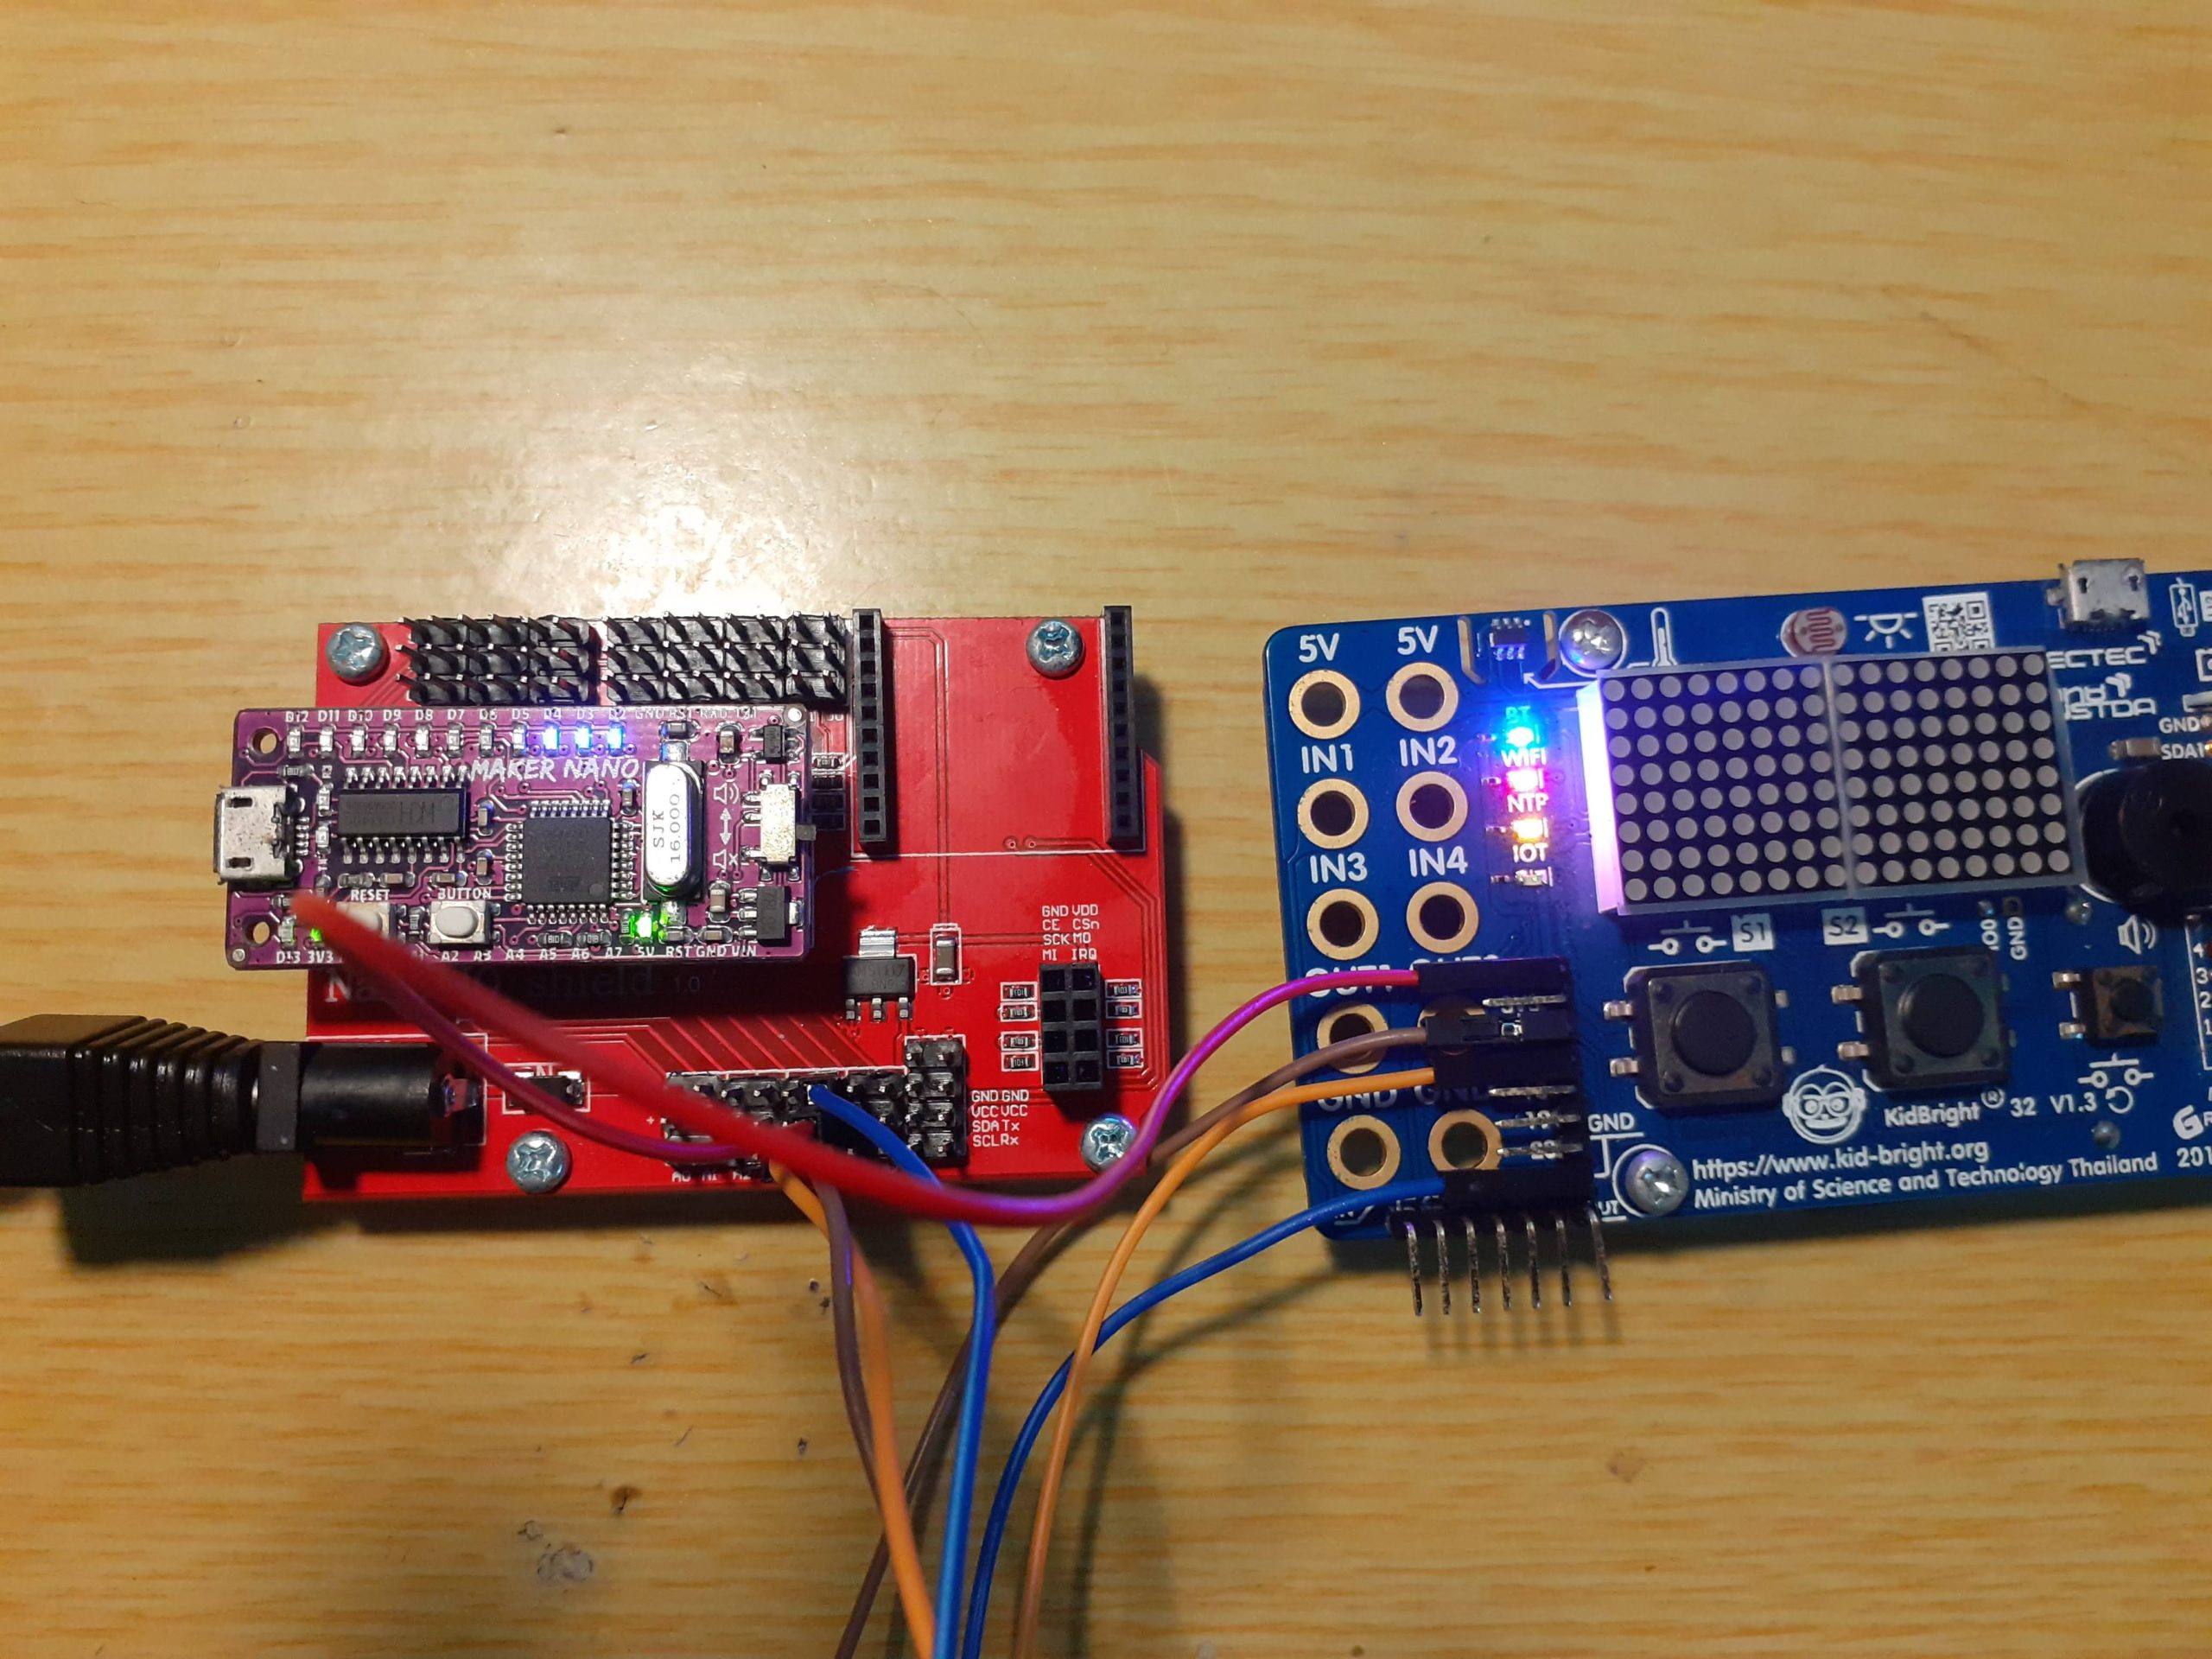
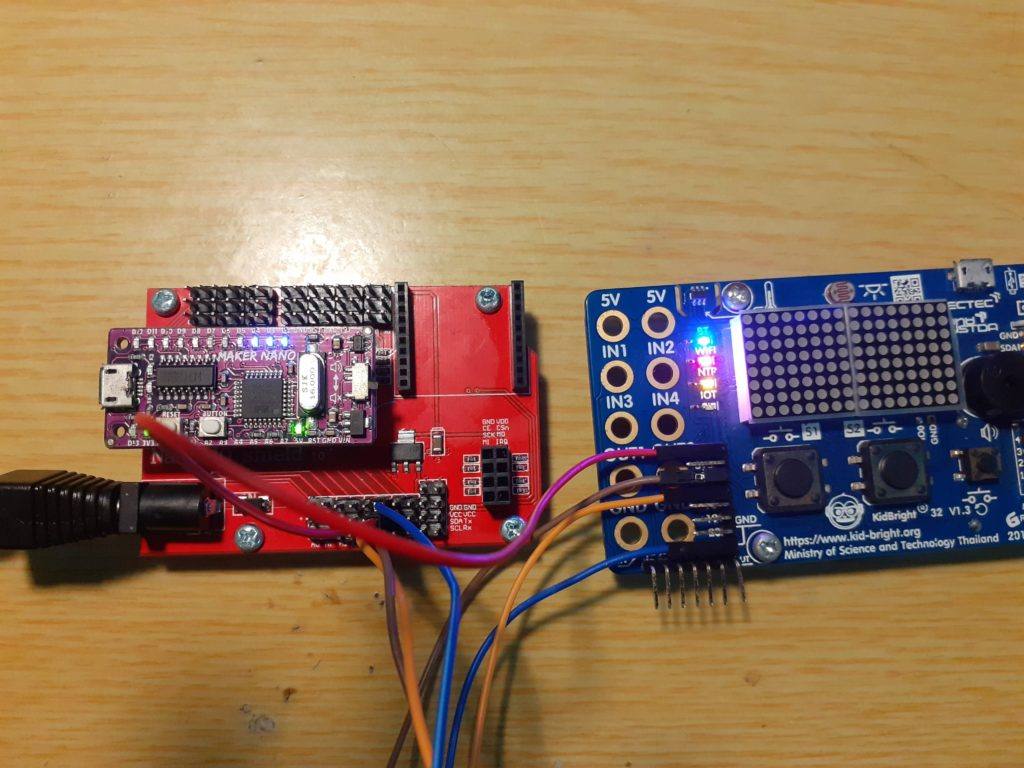
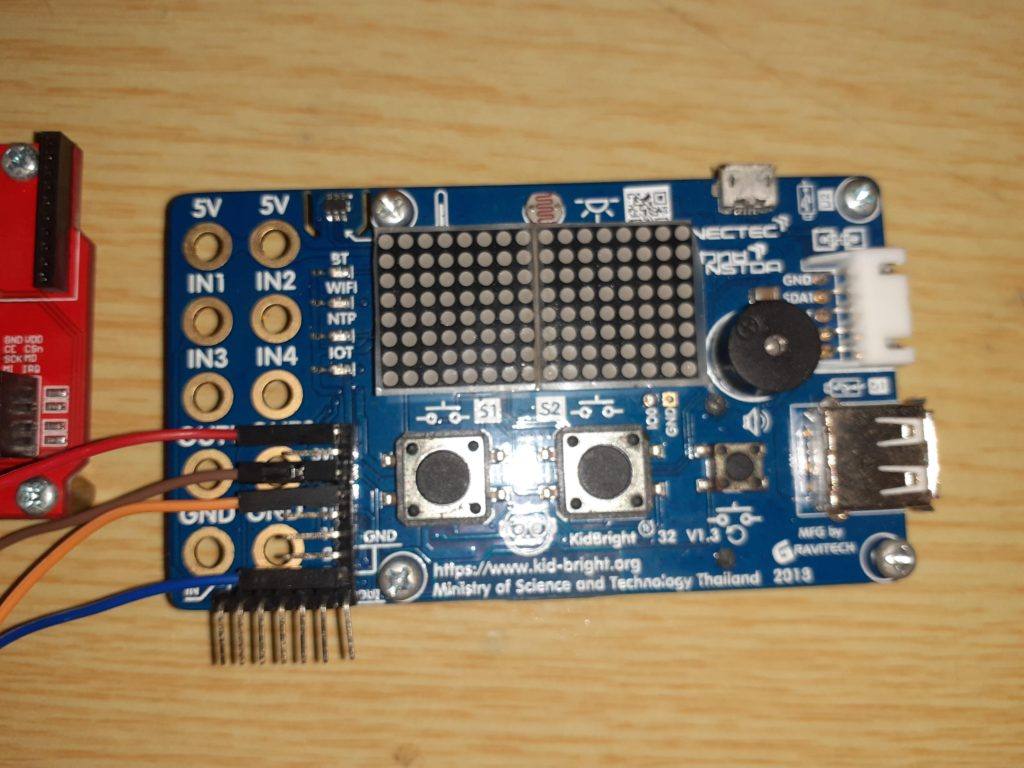
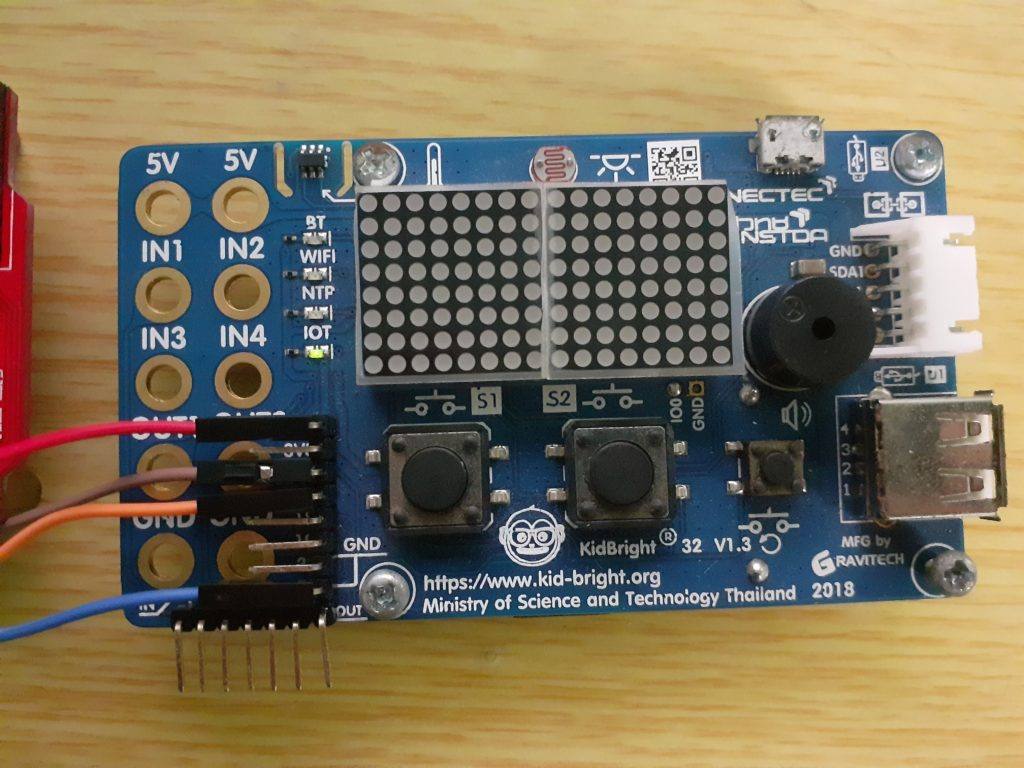
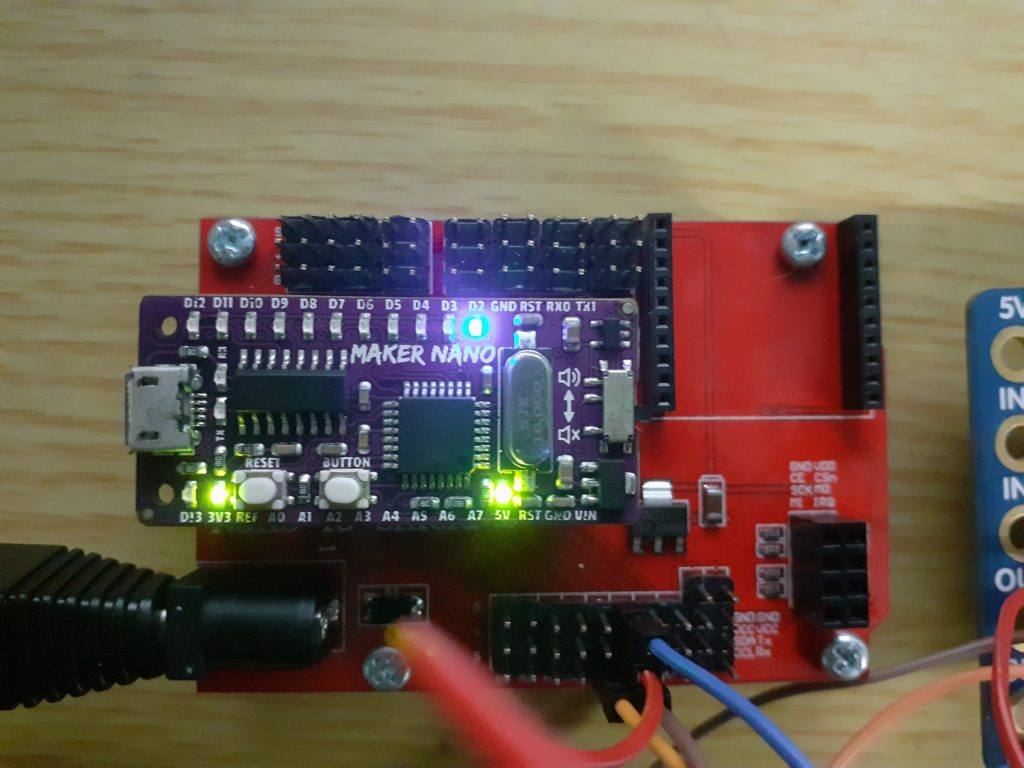
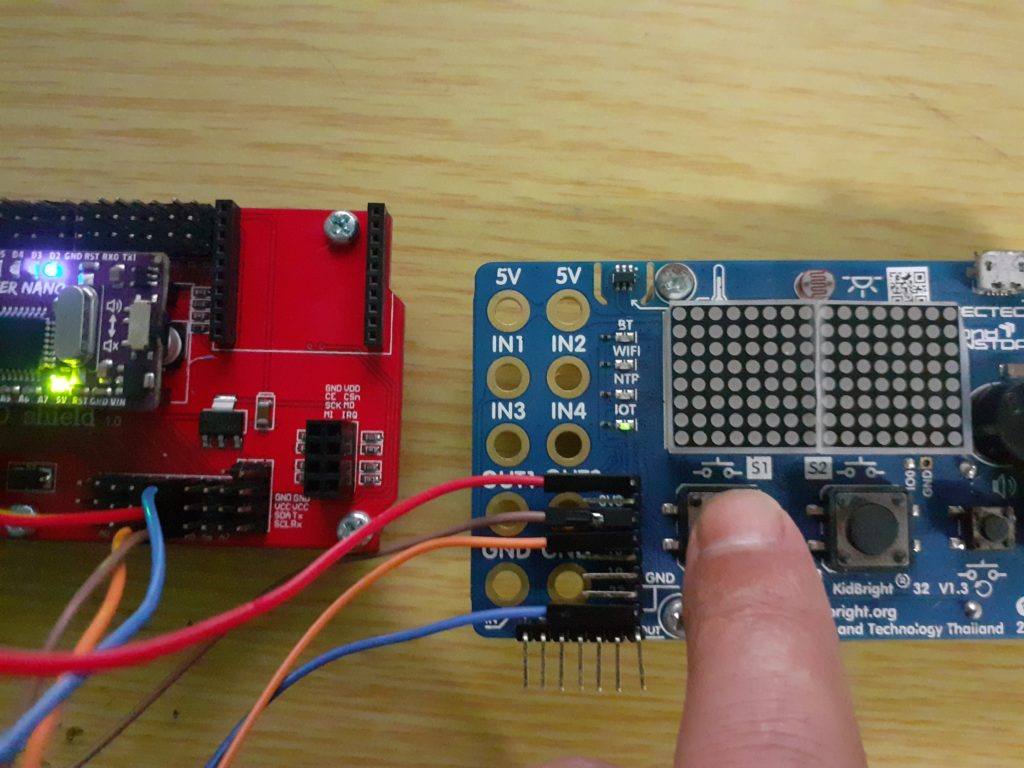
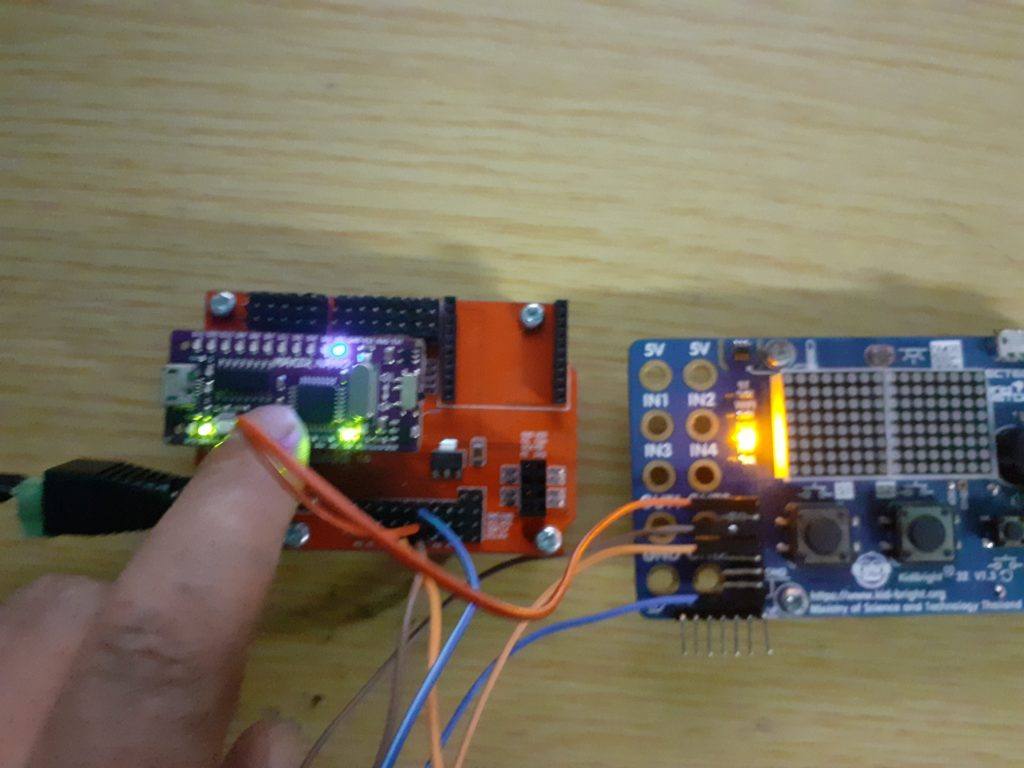
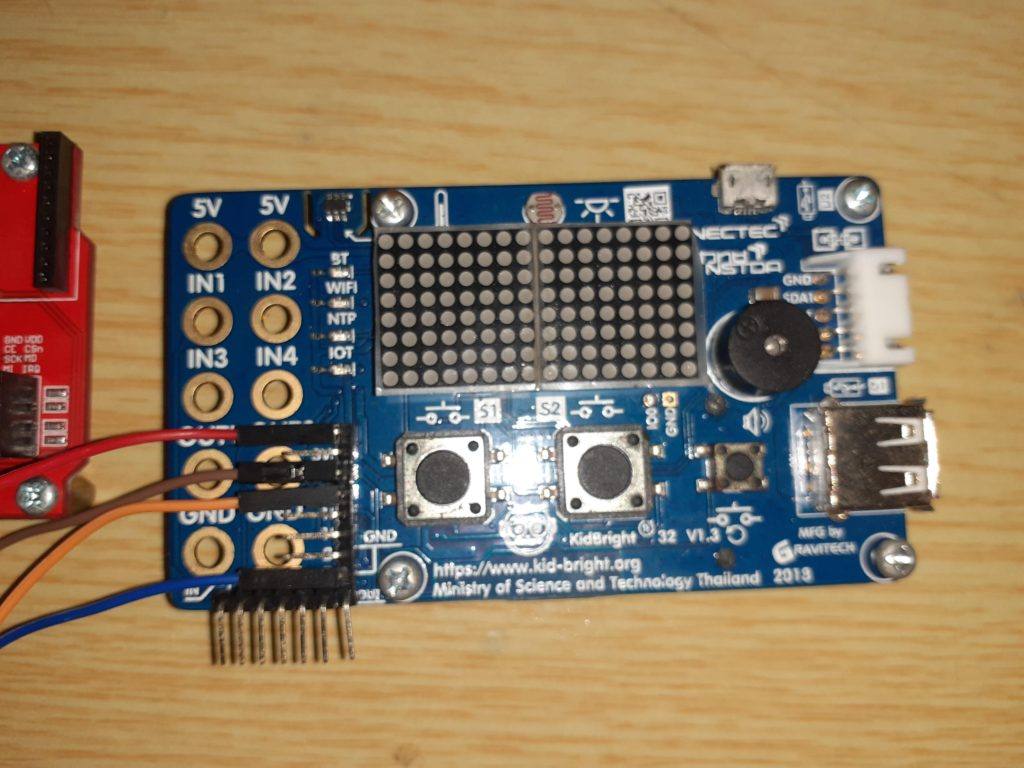
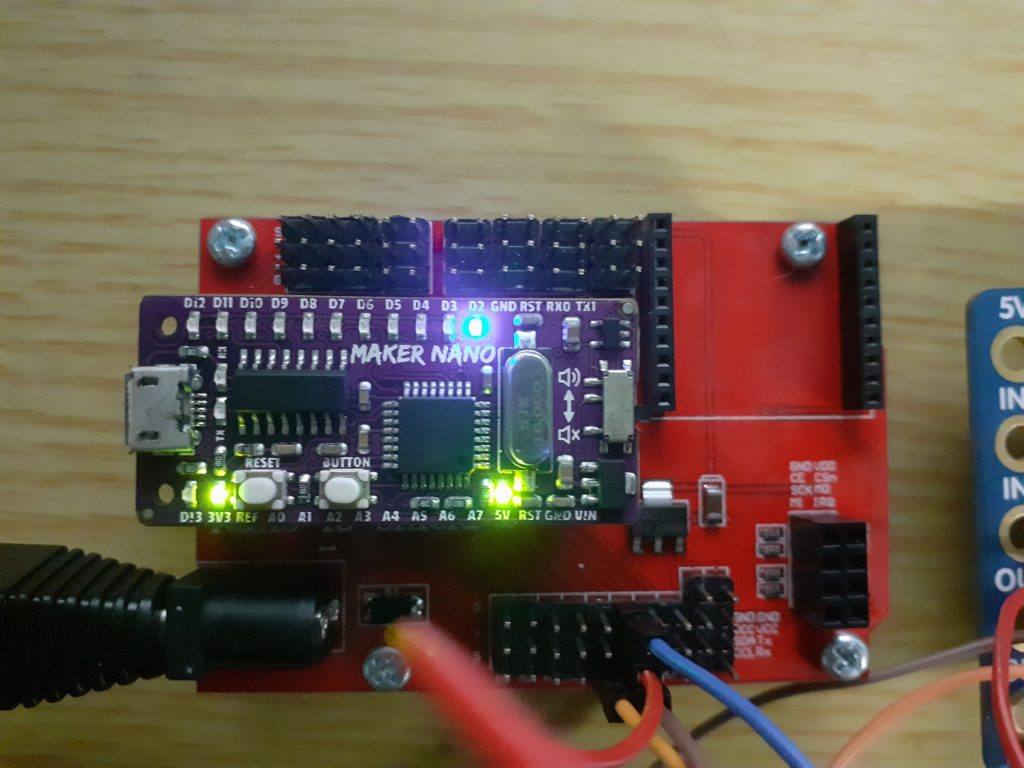
In our last post, we started looking at the workings of the I2C protocol. In case you missed that, you can read about that here. Today, I will continue with I2C by showing you how to implement the protocol between an Maker Nano (a Arduino Nano Clone) and Kid-Bright32 (a ESP32 based development and Education device).
This project will eventually be turned into an IoT device, with Google Assistant voice control. The Kid-Bright have very limited IO pins, and the Maker Nano has no Network Connectivity unless we use an Ethernet Shield. Enough of that for now, let us start with today’s tutorial, we will get back to this project later…
The Code for the Master
/* I2C Master Code - Kid Bright 32 v 1.3
   Can be adapted to Arduino or NodeMCU or STM32
   As it uses no special libraries, only the standard Wire.h
   that is already included with the Arduino IDE
*/

#include <Wire.h>

#define button1 16 // Button 1
#define button2 14 // Button 2
#define led_blue 17 // Led 1
#define led_red 2 // Led 2
#define led_yellow 15 // Led 3


void setup() {
  Wire.begin(); // Start I2C, join bus as a Master
  pinMode(button1,INPUT_PULLUP); // Set as input
  pinMode(button2,INPUT_PULLUP);
  pinMode(led_blue,OUTPUT); // Set as output
  pinMode(led_red,OUTPUT);
  pinMode(led_yellow,OUTPUT);
  digitalWrite(led_blue,HIGH); // LED is Active Low
  digitalWrite(led_red,HIGH); // LED is Active Low
  digitalWrite(led_yellow,HIGH); // LED is Active Low
  Serial.begin(115200); // Start Serial for debugging
}

byte Data = 0; // Variable for sending data to the slave
int SlaveData = 0; // Variable for receiving data from the slave

void loop() {
  Wire.beginTransmission(4); // Send data to Slave at address #4
  Wire.write(Data); // Transmit one byte ( 8 bits)
  Wire.endTransmission(); // End Transmission
  Wire.requestFrom(4,1); // Request one (1) byte of data from the      //slave at address$
  while (Wire.available()) { // If data received
    SlaveData = Wire.read(); // Save it into a variable
  }

// We will implement a simple latch in software, where a single
// button latches or releases a bit with every press and release.
// This code should ideally include debouncing as well. It was left
// out for clarity.

  if (digitalRead(button1) == LOW) { // If button 1 pressed
    if (bitRead(Data,0) == HIGH) { // test if bit 0 in variable is set
      bitClear(Data,0); // clear it if it is set
    } else {
      bitSet(Data,0) == HIGH; // set bit to high
    }
  }
// Do the same for the second button

  if (digitalRead(button2) == LOW) {
    if (bitRead(Data,1) == HIGH) {
      bitClear(Data,1);
    } else {
      bitSet(Data,1) == HIGH;
    }
  }

// We will test for a set bit in the transmitted byte, and invert it,
// as the LED's are active LOW

  digitalWrite(led_blue,!bitRead(Data,0)); // Toggle Led 1
  digitalWrite(led_red,!bitRead(Data,1)); // Toggle Led 2

// Same with the data received from the slave

  digitalWrite(led_yellow,!bitRead(SlaveData,0)); // Toggle Led 3

// Print Debug info on serial port

  Serial.print("Send to Slave 0xb");
  Serial.println(Data,BIN);
  Serial.print("Received from Slave 0xb");
  Serial.println(SlaveData,BIN);

 // Small delay, should change to millis in production code

  delay(200);

}
Code for the Slave
/*
     I2C Slave
     Arduino Nano or Compatible, can be used with ESP32 or STM32
     as well as no special libraries used, only standard Wire.h
*/

#include <Wire.h>

#define button 2 // A user button
#define led1 3 // Led 1
#define led2 4 // Led 2

byte Data = 0; // Variable for sending data to the Master

void setup()
{
  pinMode(button,INPUT_PULLUP); // Set as Input
  pinMode(led1,OUTPUT);
  pinMode(led2,OUTPUT);
  digitalWrite(led1,LOW); // Led is Active High, so switch it off
  digitalWrite(led2,LOW);
  Wire.begin(4); // Join I2C Bus as device #4
  Wire.onReceive(receiveEvent); // Register receive Event
  Wire.onRequest(requestEvent); // Register request event
  Serial.begin(115200); // start serial debugging

}

void loop() {
// implement a software bit latch, on bit 0 of the Data variable
// the latch is toggled by pressing and releasing the button
// should ideally be debounced as well

 if (digitalRead(button) == LOW) {
  if (bitRead(Data,0) == HIGH) {
    bitClear(Data,0);
  } else {
    bitSet(Data,0) == HIGH;
  }
 }
 delay(200); // small delay
}

// This event will be triggered when the master requests data

void requestEvent()
{
  Wire.write(Data); // Send data to the master
  Serial.print("Sending to Master 0xb");
  Serial.println(Data,BIN);
}
// This event gets triggered when the master sends data

void receiveEvent(int Quantity)
{
  int x = Wire.read(); // read the data ( one byte in this case)
  digitalWrite(led1,bitRead(x,0)); // Toggle LED 1 on Bit 0 state
  digitalWrite(led2,bitRead(x,1)); // Toggle LED 2 on Bit 1 state
  Serial.print("Received from Master 0xb"); // Debugginh
  Serial.println(x,BIN);

}
How does this work.
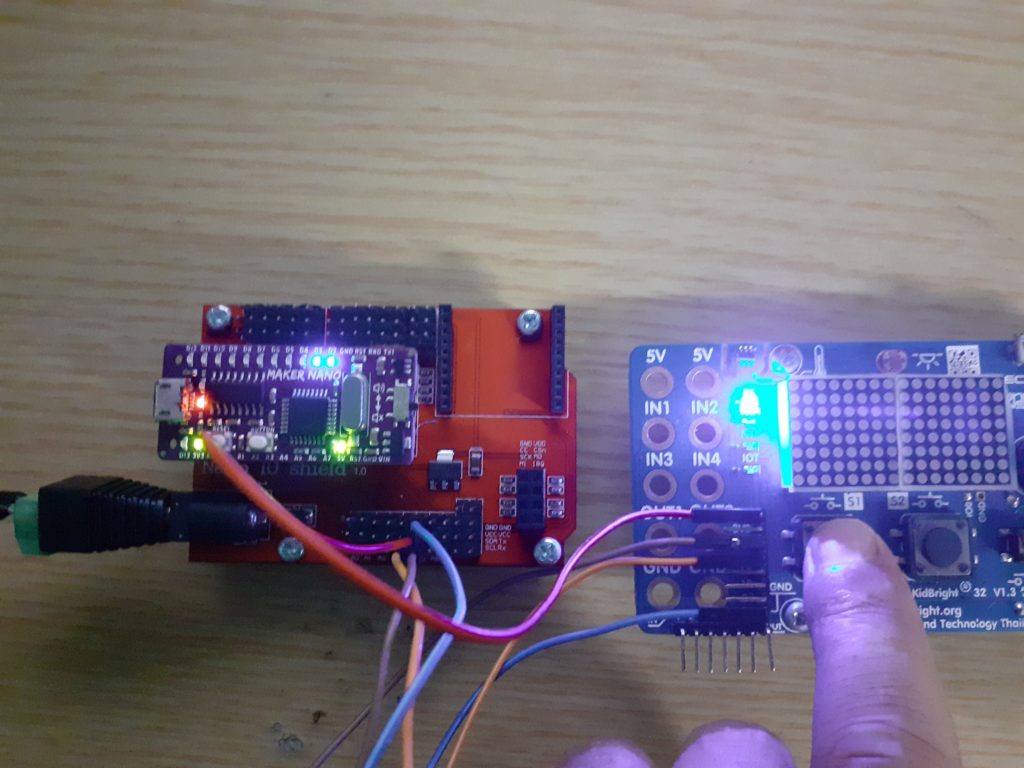
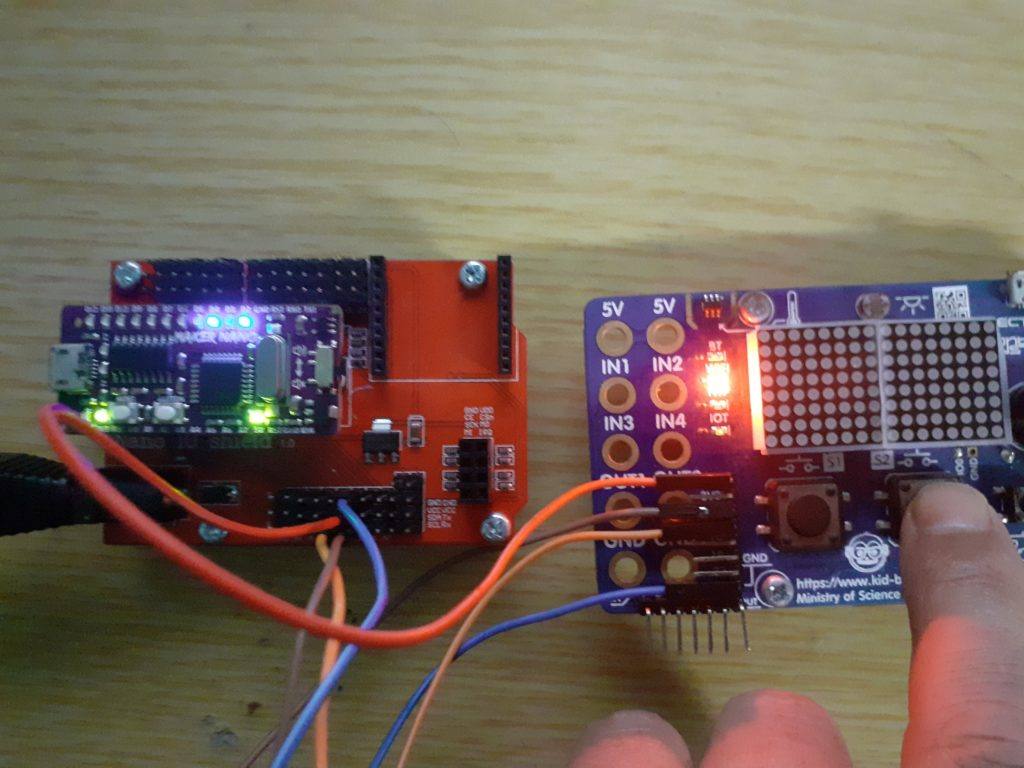
After uploading the code to the two boards, and connecting the boards to the I2C bus, we may power everything up. Please note that the boards MUST have a common ground. I have also powered both from the same supply. also make sure the SDA goes to SDA, and SCL to SCL… On a short distance like this, pull-up resistors are not required ( your milage may vary )
When we first power it up, is will seem as if nothing happened, but if you press and release one of the switches, the LED’s will light up, and stay lit until you press the switch again.
What next ?
In further parts of this, we will expand on this device, turning it into an IoT device, by combining many different skills that I have presented in previous tutorials.

