
So you have finally decided to give the Embeetle IDE a try, I mean, why not, you have nothing to loose right ? After starting the IDE, you get to this screen…
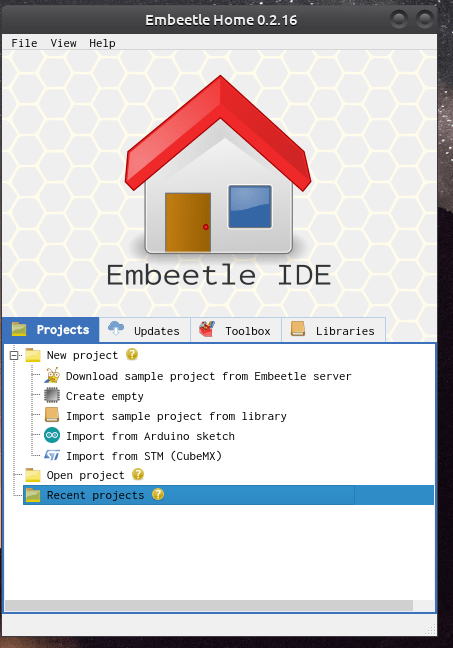
You are presented with many different options, but which one should you choose… Many of you will choose “Create Empty”, but be warned: This is not what you want. For those of us that come from standard IDE software, especially the Arduino IDE, we believe that the source files should only contain void setup() and void loop()… and then we can continue with our coding …
This is however very very wrong… Many IDE’s hide most of the code from you, in an effort to make it “easier to use”. Embeetle does not do that. So unless you are very confident in your C/C++ skills, Do not choose this option.
Embeetle requires you to use real C++ when you write code, so while you can still do all the things you are used to do with “Arduino C” there will definitely be a few differences that you need to take account of. Professional developers will not have a problem however, as you are already used to declaring function prototypes etc…
So where do we start then?
Select the “Download Sample Project from Embeetle Server” option.
After a few seconds, you will be presented with this screen:
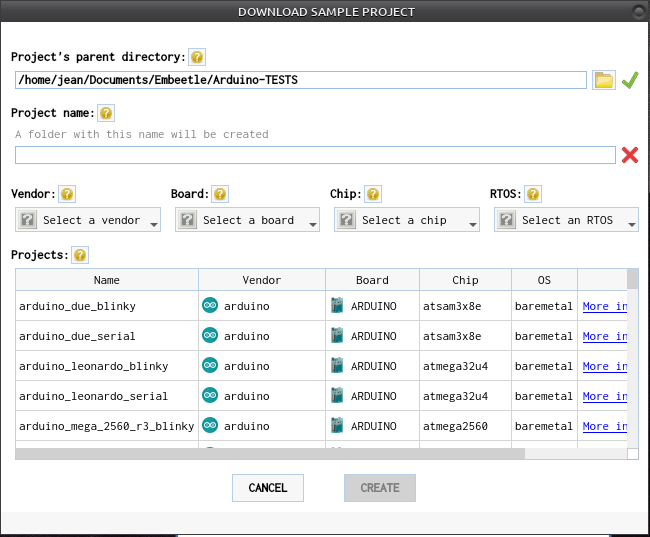
Now, we have to mention another point about Embeetle. Embeetle does not only support Arduino Boards. Embeetle supports many other devices, and the list is growing.. so you will have to choose your device… So as an example, I will show you how to load the standard “blink” sketch on the Arduino Uno R3 ..
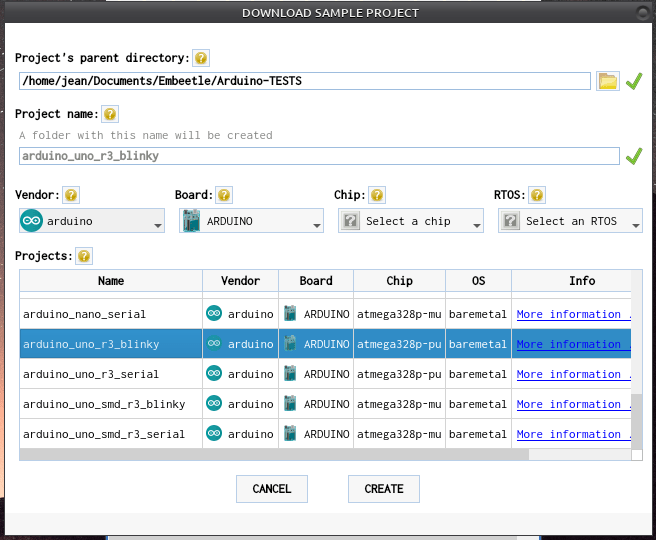
After selecting a Vendor and a Board, and some scrolling, I have selected the Arduino Uno R3 Blinky sketch.
Go ahead and click on the “Create” button. Embeetle will now generate your sketch, generate a makefile and all the other needed files that are normally hidden away from you, and then open the editor window…
An important note here:
When you have installed Embeetle for the first time, you may not have all the required toolchains and other drivers installed on your computer. Usually, this can be a real pain to figure out. But, once again, Embeetle will take care of it… with a little bit of your help, of course… You may be presented with a small window, asking you to choose toolchain and or linker applications. Click on the drop-down menu, and select the option in GREEN. nothing else, and click apply… Embeetle will automatically download and install it, no further actions required from you!~ Easy, is it not ?
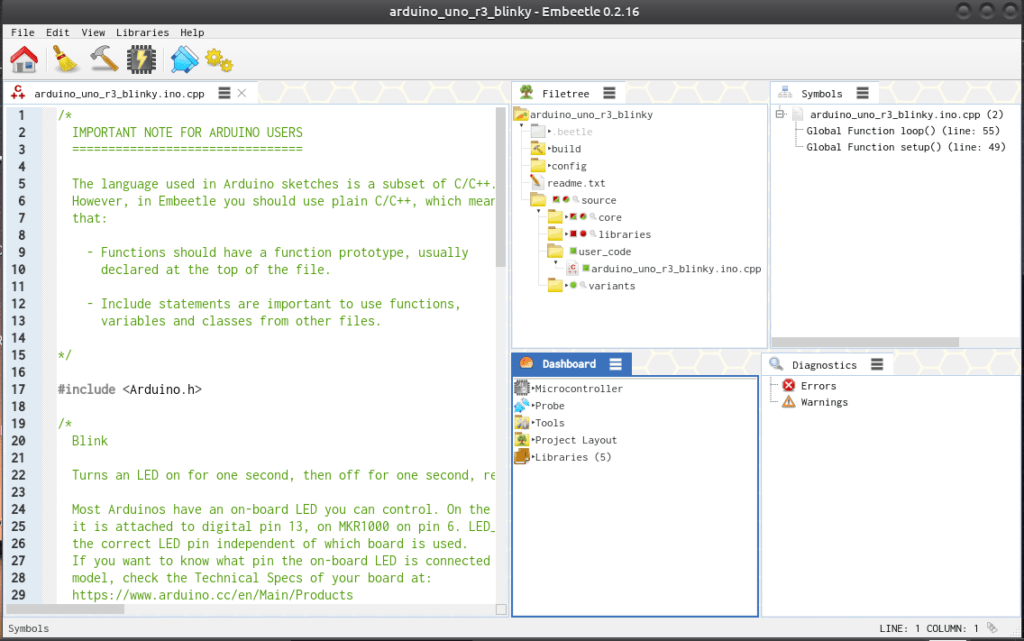
So now, the Editor has opened, and you are all confused, as it does not look anything like what you are used to, so what do we do now ? Lets look around the IDE quickly…
At the top left, we have a menu bar, and below that, a few tool buttons, not many, as we dont need all of those cluttered buttons anyway…
The most important here is :
The Broom : Cleans your project
The Hammer: Builds ( compiles ) your project
The Chip : Flashes the project onto the device
The Serial Port: Opens the Serial Monitor
In the center column, we have the File tree, showing all the files your project are using, with green dots in front, meaning in use, and red meaning not used,
and directly below that, the Dashboard…
This is where you will select your tools, as well as the serial port your device is connected to…
On the Far right, you have a symbol table, and some diagnostics ( but this is usually for the more advanced users, although everyone can benefit from using how to use these
Connecting your Device
Let us connect our device.
1.) Start by plugging you Arduino Uno R3 into the USB Cable, and connecting the cable to your computer.
2.)In the Dashboard window, Click on Probe -> Com-Port -> Select and choose your port ( on Ubuntu, it wil be /dev/ttyUSB0 or similar, on Windows it may be com3 or similar
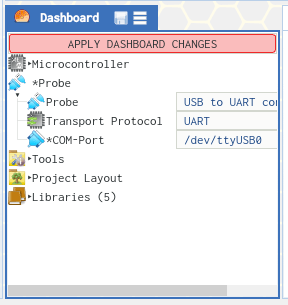
3.) A red warning will now appear, “APPLY DASHBOARD CHANGES”. Click on this to confirm your changes.
4.) your device are now connected, and you can start coding…
Let us have a quick look at the coding style, as is is quite different from what you would use in an the Arduino IDE
The most important change is that you will need to declare function “prototypes” This is normal in standard C/C++ but is not needed in the Arduino IDE…
this means doing this:
void setup();
void loop();
You will have to declare any other functions that you write on your own as well… including their datatypes, and any parameters that they require… Once again, this is usually not a problem for the casual home user, and the professional developers already know what this means…
The complete sketch is below
/*
  IMPORTANT NOTE FOR ARDUINO USERS
  ================================

  The language used in Arduino sketches is a subset of C/C++.
  However, in Embeetle you should use plain C/C++, which means
  that:

    - Functions should have a function prototype, usually
      declared at the top of the file.

    - Include statements are important to use functions,
      variables and classes from other files.

*/

#include <Arduino.h>

/*
  Blink

  Turns an LED on for one second, then off for one second, repeatedly.

  Most Arduinos have an on-board LED you can control. On the UNO, MEGA and ZERO
  it is attached to digital pin 13, on MKR1000 on pin 6. LED_BUILTIN is set to
  the correct LED pin independent of which board is used.
  If you want to know what pin the on-board LED is connected to on your Arduino
  model, check the Technical Specs of your board at:
  https://www.arduino.cc/en/Main/Products

  modified 8 May 2014
  by Scott Fitzgerald
  modified 2 Sep 2016
  by Arturo Guadalupi
  modified 8 Sep 2016
  by Colby Newman

  This example code is in the public domain.

  http://www.arduino.cc/en/Tutorial/Blink
*/

// the setup function runs once when you press reset or power the board

void setup();

void loop();

void setup() {
  // initialize digital pin LED_BUILTIN as an output.
  pinMode(LED_BUILTIN, OUTPUT);
}

// the loop function runs over and over again forever
void loop() {
  digitalWrite(LED_BUILTIN, HIGH);   // turn the LED on (HIGH is the voltage level)
  delay(1000);                       // wait for a second
  digitalWrite(LED_BUILTIN, LOW);    // turn the LED off by making the voltage LOW
  delay(1000);                       // wait for a second
}

Now, let us build and flash the code to the device

Click on the hammer tool...
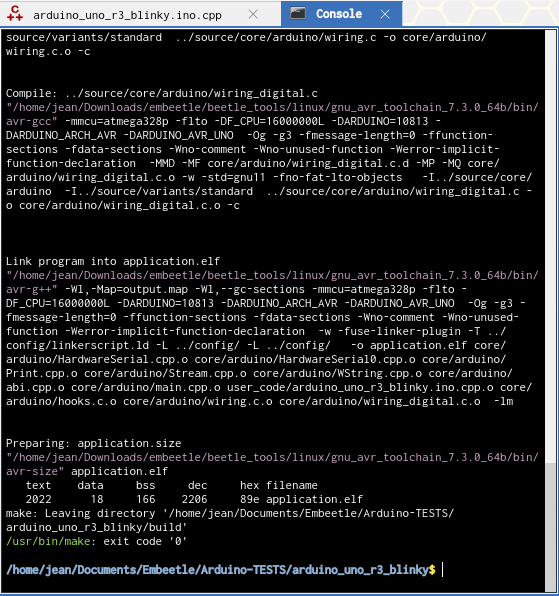
Embeetle will compile and build your code, and inform you at the bottom of the console if all went well. If it did, click on the Chip Tool to Flash it to your device
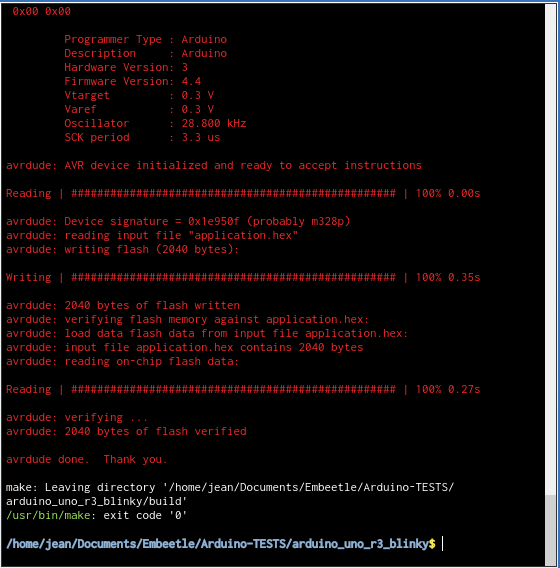
Once again, Embeetle will inform you of the status of the Upload, and if you did everything correctly, the led on the UNO will start flashing….
In our next article, we will look at how to use the Library manager. This is definitely one of the most powerful features of Embeetle, only to be surpassed by the source analyser and the symbol generator.. but more on that later.
Thank you